Zapier is a platform that connects your web apps and allows you to automate tasks between them. Before you can start integrating external tools via Zapier, you must first integrate your Landingi account with Zapier.
This guide will walk you through the process of integrating your Landingi account with Zapier for the first time. After that, you can add zaps – create connections with other, external tools to automate your workflow. Your landing pages, pop-ups, and lightboxes will be loaded automatically in Zapier, and you can easily set up connections. Remember, that the connection will not upload the leads generated before the setup.
Integrate Landingi form with Zapier
In order to integrate your landing page form and Zapier, you need to generate an API token in Landingi. Once your form and Zapier are connected, you can continue with creating Zaps. Below you can find descriptions of both actions:
Integrate a form with Zapier
Get your API token from Landingi
1. To link your Landingi and Zapier accounts, you must download the API key from your Landingi account.
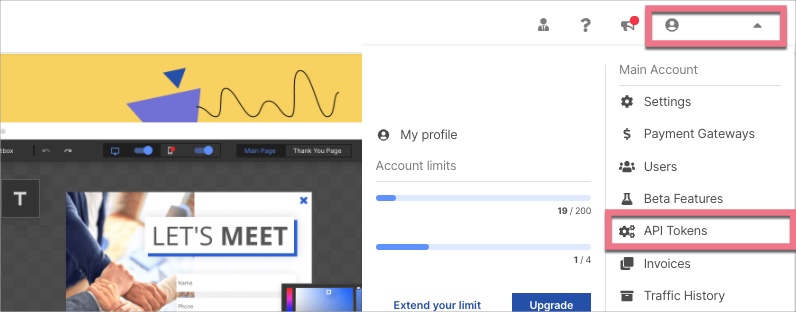
2. Click on your profile icon in the top bar, then go to the API tokens tab.
3. Create new API token. Click on the Add token button, name it, and confirm by clicking on Create new token. Your new token will appear on the list.
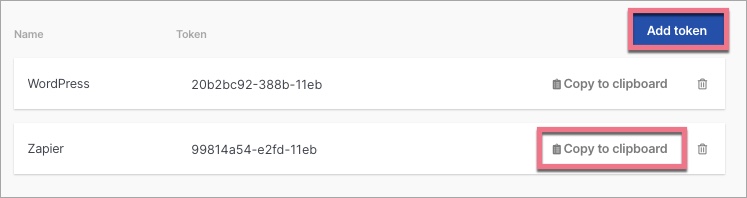
4. Copy your API token.
Integrate with Zapier
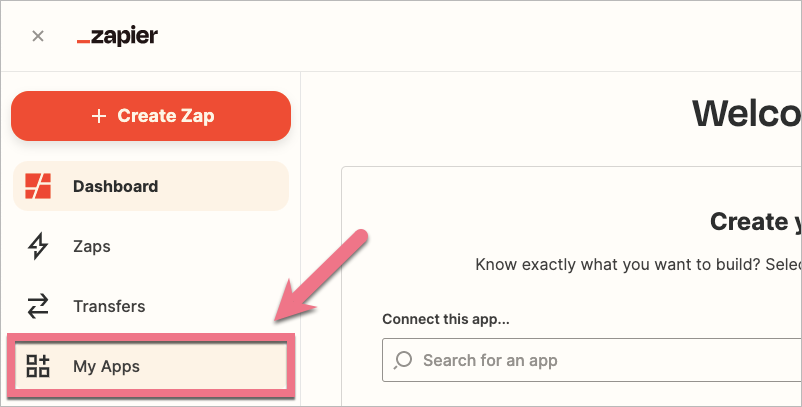
1. Log in to your Zapier account. Navigate to the My Apps tab.
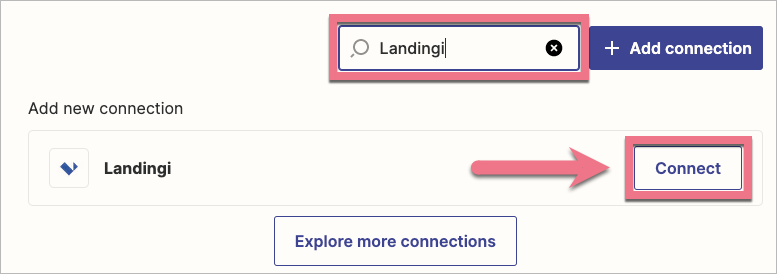
2. Search for Landingi and click Connect.
3. You will be asked to enter your API key, which you previously copied from the Landingi platform. Click on Yes, continue.
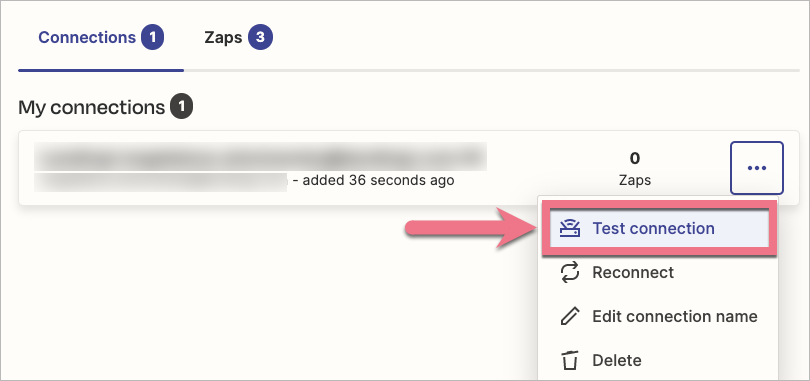
4. Click Test connection to verify the new connection.
If the connection is valid, you can proceed to the integration with external tools. If you already have tools you want to connect Landingi to, add them in the My Apps tab. You can create new connections using zaps (see steps below) or you can browse connections in Zapier.
Adding Zaps
Add an event
When your Landingi account is integrated with Zapier, you can create a zap.
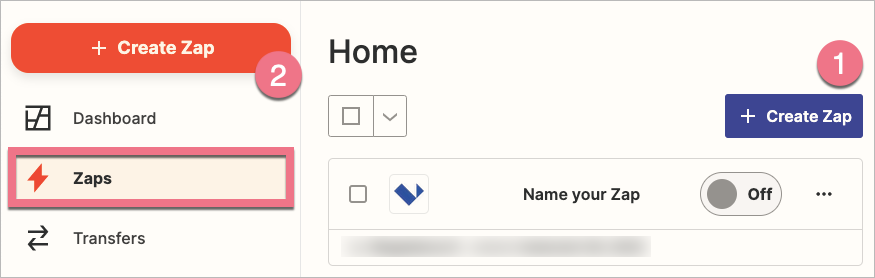
1. Go to the Zaps tab and click Create Zap (1 or 2).
2. In the search bar, type Landingi, and click on Landingi.
Set up trigger
3. Choose app & event.
- At Event, select the trigger, depending on what you want to integrate.
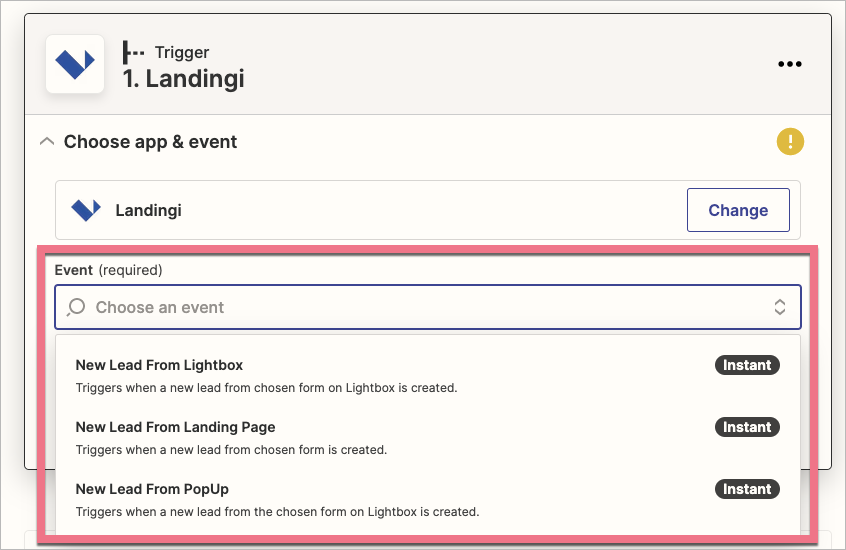
Click Continue.
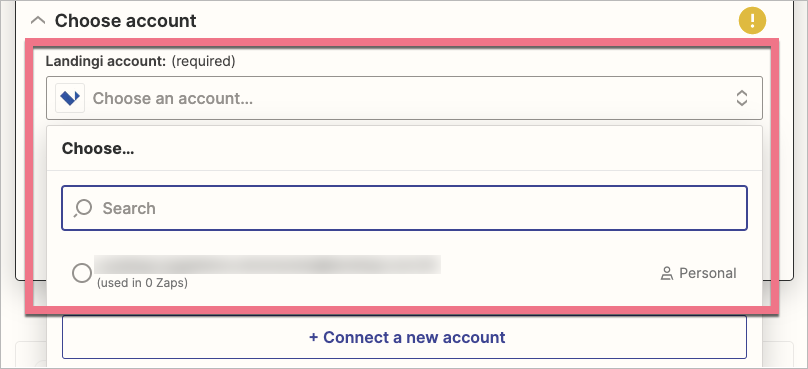
4. Choose account.
Select the account you want to integrate.
5. Set up trigger.
- Select a landing page, pop-up, or lightbox.
- Select the Form ID. Learn how to find the Form ID.
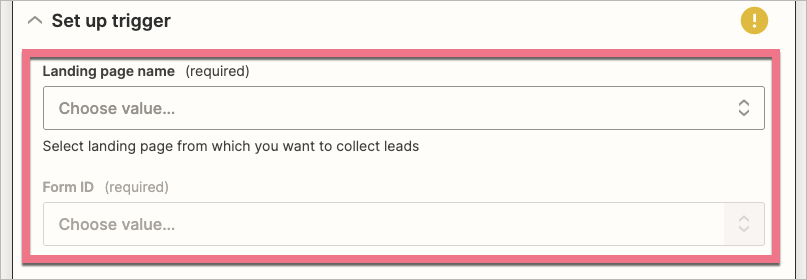
Click Continue.
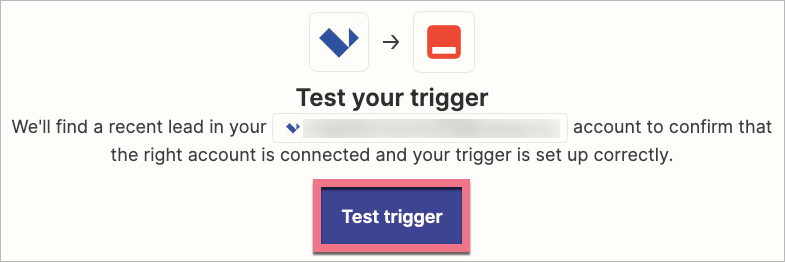
6. Zapier will now test the trigger: click on Test trigger, to send a test lead. If the trigger is set up correctly, you will see the default Lead A. This lead is only to check the connection and will not be added to the list of leads in Landingi or Zapier.
Click Continue, and follow the next steps below.
Set up Action
7. Configure the Action integration. For example, if you want to integrate your landing page with Gmail, you’ll need to log in to Google (via Zapier). Set up the action the same way as the event.
In the Test action section, click on Test & Review or Test & Continue. When the test is successful, you can publish the Zap.

8. You’ll find the list of your connections in the Zaps tab.

Forms and Smart Sections
The list will display only forms that are added to regular sections.
If you don’t see your form ID on the list, that’s probably because the form is placed on a Smart Section. To load the ID of such a form, you need to switch the smart section to a regular section. You can then go back to Zapier and click on Refresh fields.
Zapier and A/B tests
If you run an A/B/x test and want to send leads to Zapier from all landing page variants, you need to create a distinct Zap for each variant. This is because Zapier creates a Zap using the landing page name and form ID, and the variant created for A/B testing is not recognized as a separate landing page, so it is not included in the list of pages.
To change this, you need to temporarily switch a variant to a main one, to make it appear in the Zap configuration.
Read a guide about A/B testing and Zapier.
Search for your integration
Not sure if Landingi connects with your tool via Zapier? Go to Zapier and search for your app.
Browse all integrations in our Integrations Catalog to see tools you can connect Landingi with.