Lightboxes appear like a pop-up window. They display images, videos, or other elements by filling the screen and dimming out the rest of your landing page. To create a lightbox, follow the steps below.
Learn here how add a lightbox to your landing page.
Create a lightbox
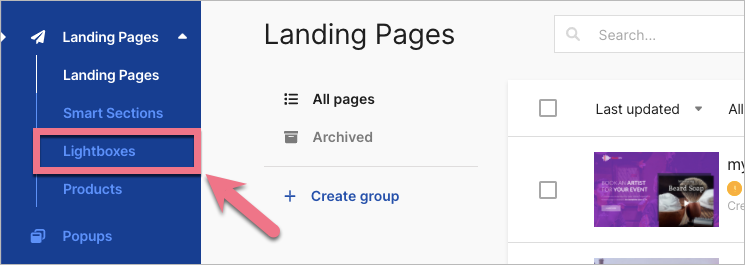
1. Log in to your Landingi account, unfold the Landing Pages tab, and select Lightboxes.
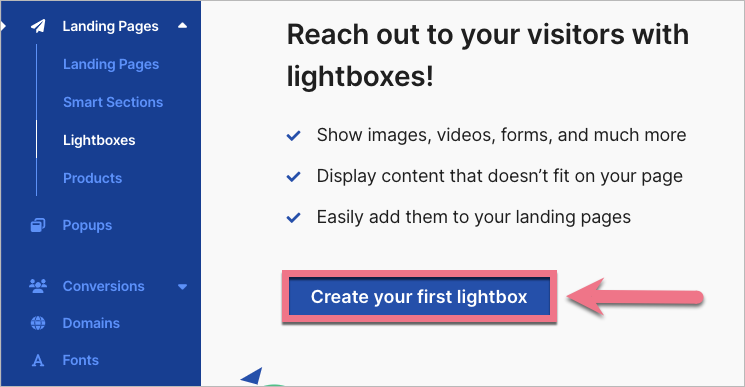
2. Click Create your first lightbox.
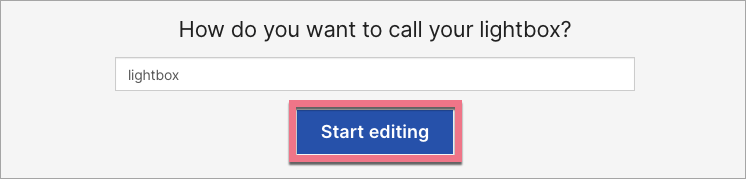
3. Give your lightbox a name and click Start editing.
4. Lightboxes can be edited in the same way as landing pages. Learn here how to use elements and widgets of the editor.
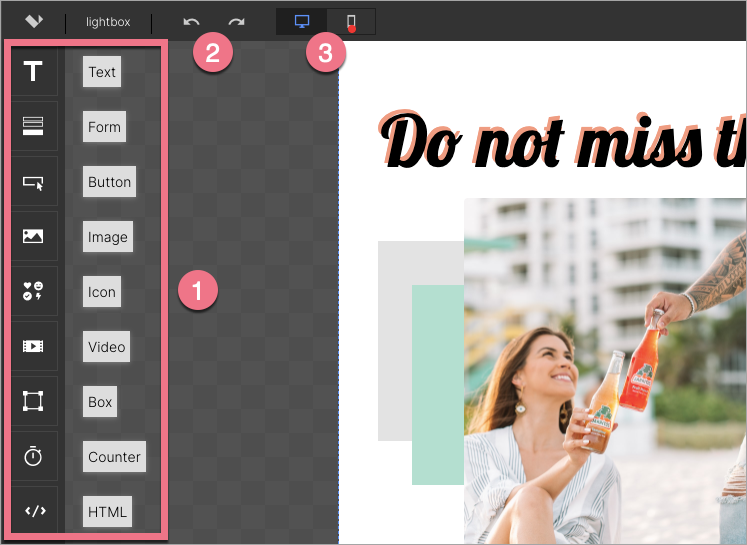
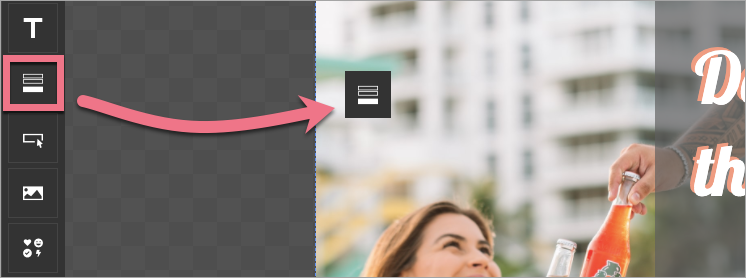
5. You can choose from 9 widgets (1) that you can put on your lightbox. Use arrows (2) if you want to undo or redo the editing. Just like the landing page, the lightbox has a desktop and mobile view (3). The mobile view is automatically created based on the desktop view, but this does not work in the other way. We recommend starting with the desktop view and then adjusting the mobile view.
The maximum width of a lightbox is 764 px.
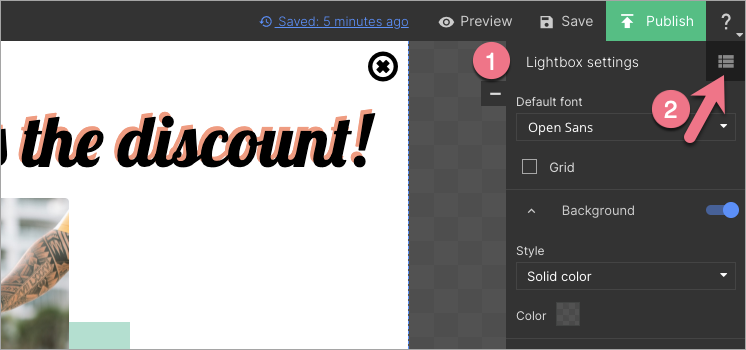
6. On the right side of the editor, you will find a toolbar with Lightbox settings (1) and a list of Elements (2).
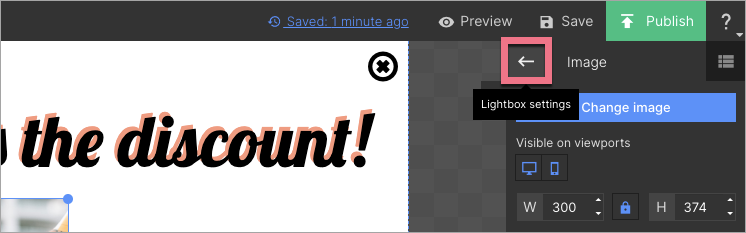
7. When editing, you will find there a toolbar with settings of added widgets. To go back to the lightbox settings, click on the arrow.
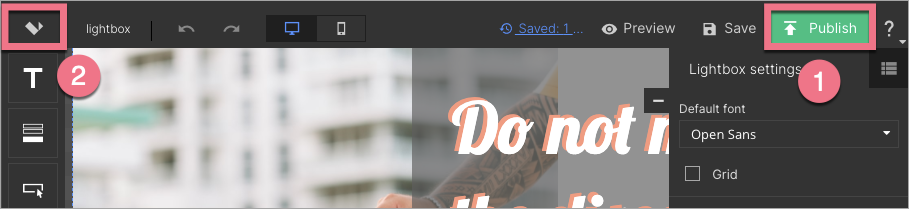
8. When your lightbox is ready, click the Publish (1) button and then exit the editor (2).
Form on a lightbox
To add a form to your lightbox, drag the Form widget, drop it on the active area of the lightbox, and adjust its settings. Learn more about form settings here.
- Your lightbox form will redirect users (after filling out the form) to a thank your page of a landing page to which you will add the lightbox.
- Forms on lightboxes can be used for creating funnels.
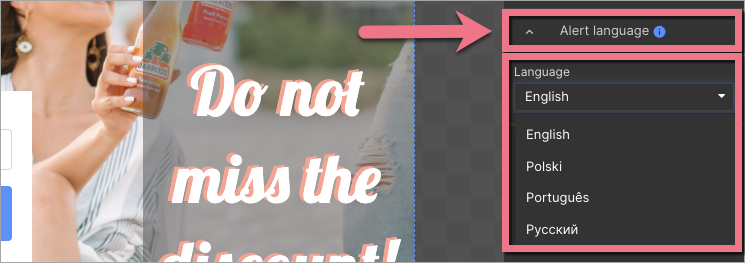
You can choose an alert messages language for your lightbox form. Alert messages are displayed when users enter invalid data in the form.
Go to Lightbox settings, find the Alert language tab, and choose the language. Read the guide on form alert messages.
Locate your lightbox
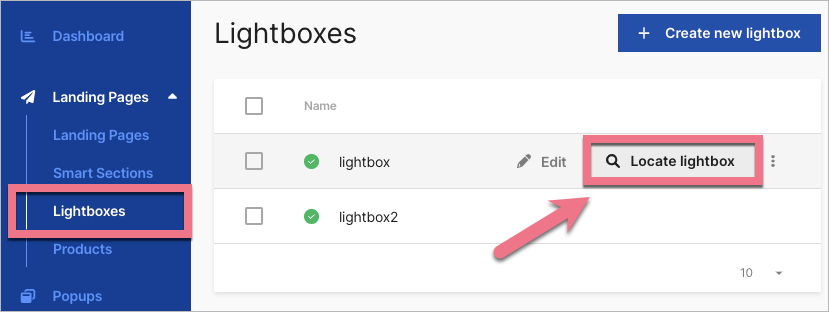
To find to which landing page your lightbox is connected, go to the Landing Pages tab and select Lightboxes. Hover over the lightbox and click Locate lightbox.
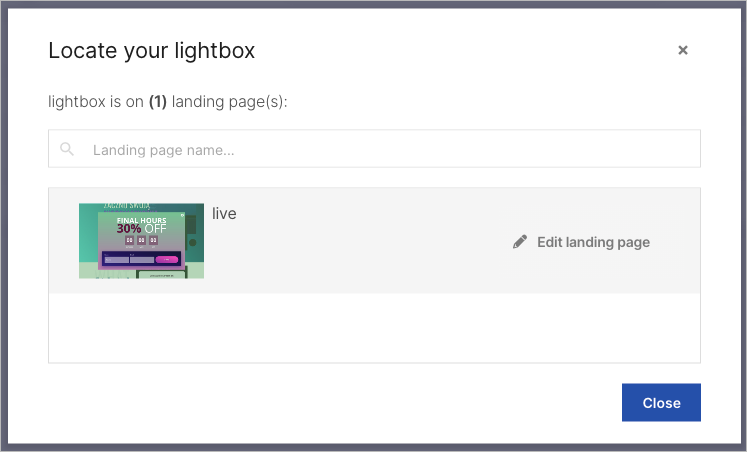
You will see a list with landing pages. From here, you can navigate directly to the landing page editor – hover over its name and click Edit landing page.
What are lightboxes used for?
The most popular purposes of lightboxes are:
- Images display
- Video display
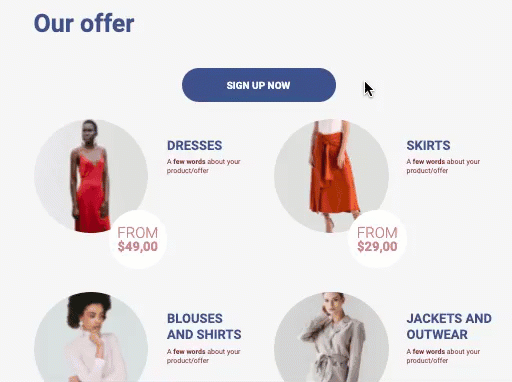
- More details about products
- Privacy Policy or GDPR information
- Forms and funnels
- More content that doesn’t fit on a page