Add a map to the address indicated on your landing page so your users know exactly where to find you. With the HTML widget, you can add a Google map to a landing page with a single location or with a few locations.
Add a Google map to a landing page
1. Once you’ve located your Google map address, click the Share button.

2. Go to Embed a map (1) tab and copy HTML (2).

3. In the editor, find the HTML widget, then drag and drop it into the active area of your landing page.

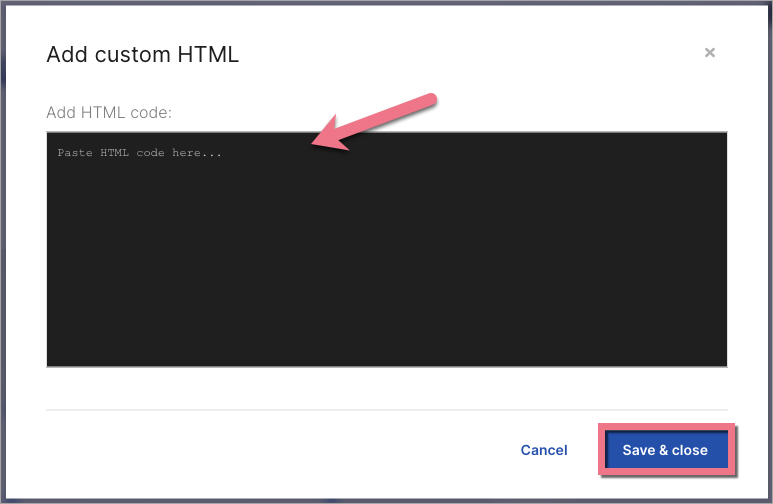
4. Double-click to edit the widget. Paste the copied HTML code. Save & close.
5. Publish your landing page and check where the map is displayed on your landing page.
If it interferes with other elements, go back to the editor and move the map, re-publish the landing page, and make sure the map is in the place where you want. If not, move the widget again.
Add a Google map with a few locations
1. Go to Google My Maps. Proceed and click the red button Create a new map.

2. Search for a chosen location.

3. Click Add to map on a pop-up window. Find other locations the same way, if you need (they will appear in the left panel).

4. Once you have added all the locations, click Share (1) in the left panel, and add a title and description to your map (2).

5. Mark your map as public on the Web. Change sharing options into Anyone with the link and save it by clicking Done.


6. Now, you will see the name of the map in the upper left corner. Click on the three dots icon and select Embed on my site from the dropdown list. Copy the displayed HTML code.

7. Go to the editor and add your HTML code the same way as described above (with the HTML widget).
Publish your landing page and check if the map is displayed correctly.
Responsive map
To make your map responsive on mobile devices, you need to change the HTML code and add custom CSS to your page.
1. Double-click the HTML widget to edit it.
2. In the code, find the width and height parameters (1). The width value is the width of an image on a desktop view. The height value is the height of the image, both on desktop and mobile view. Adjust them to your needs.
Then add a class parameter (2):
class="responsive-map"
Save & close.
3. Go back to Page Settings.

4. Click Add custom CSS.

5. Copy and paste the following code:
.responsive-map {
    max-width: 100%;
}
Then Save & close.
6. Publish your landing page.
Check if the map displays correctly on desktop and mobile views.

