Sections do not have to be static – with the help of additional JavaScript code and giving classes to several elements, you can create expanded sections on your landing page. They can be used, for example, for FAQs.

Adding JavaScript code to a landing page
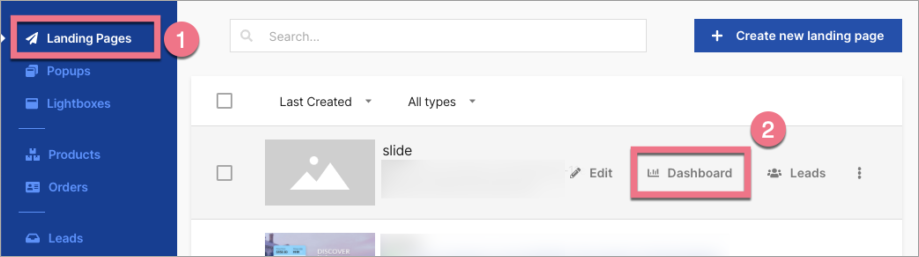
1. Log into our platform. On the left-side menu, go to the Landing Pages (1) tab > then choose a landing page from the list and click Dashboard (2).
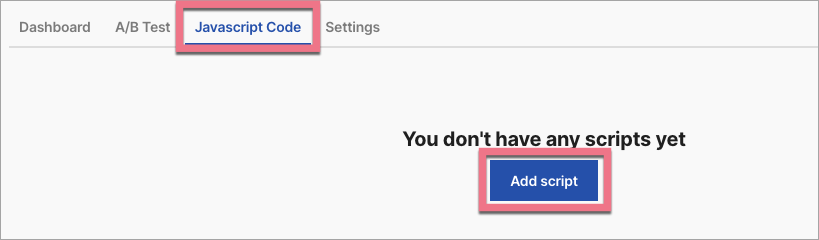
2. From the Dashboard level, go to the JavaScript Code tab and click Add script.
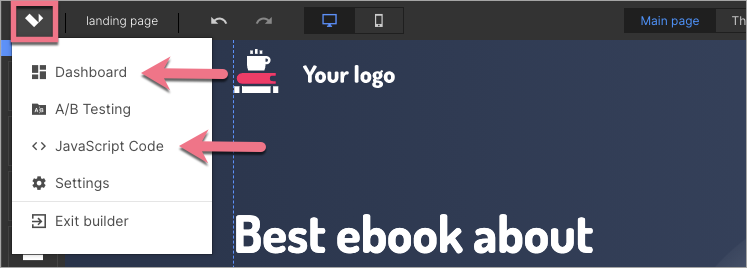
You can enter the JavaScript Code tab directly from the editor:
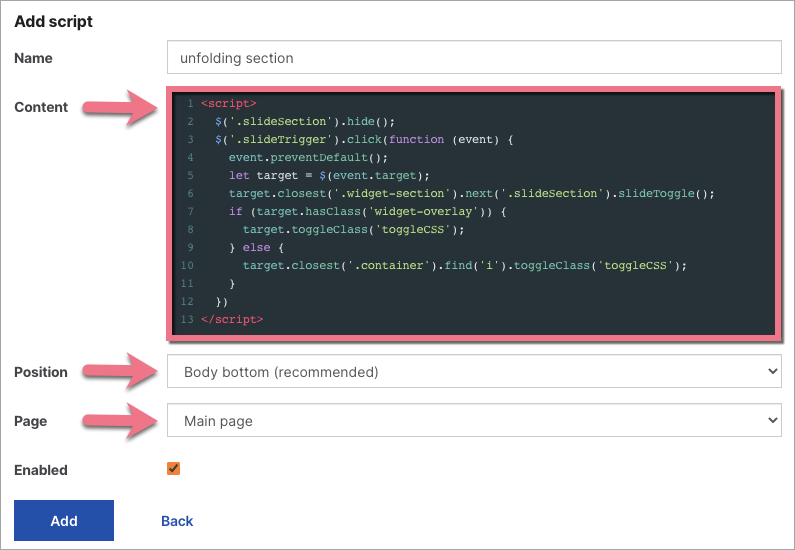
3. Copy the code indicated below and paste it into the Content field. Name the script and choose the Body bottom position on the Main page. Click Add.
<script>
  $('.slideSection').hide();
  $('.slideTrigger').click(function (event) {
    event.preventDefault();
    let target = $(event.target);
    target.closest('.widget-section').next('.slideSection').slideToggle();
    if (target.hasClass('widget-overlay')) {
      target.toggleClass('toggleCSS');
    } else {
      target.closest('.container').find('img').toggleClass('toggleCSS');
    }
  })
</script>
Optionally:
If you want your trigger icon to rotate by 180 degrees when the section is opened, in custom CSS, you need to add the following code:
.toggleCSS {
	transition: 300ms linear all !important;
	transform: rotate(180deg) !important;
}

.slideTrigger {
	transition: 300ms linear all !important;
}
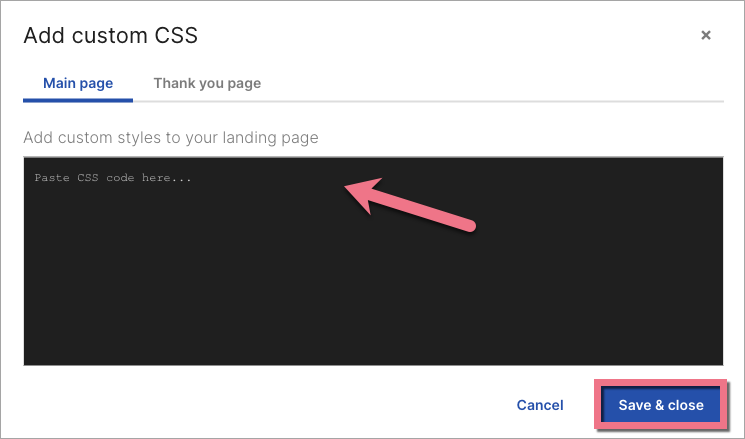
To add custom CSS code, go to Page Settings in a right-side toolbar and click Add custom CSS.
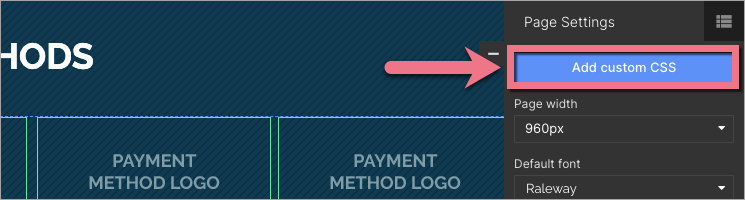
When editing, you can go back to Page Settings by clicking on the arrow:
After the changes, Save & close and publish the landing page.
The CSS code is unnecessary if you use the text as a trigger for expanding and folding the section (once you use it, your text might be displayed upside down after expanding the section).
Adding classes to the element in an editor
1. Go to the editor of your landing page and create a section that, by default, should expand. Then, click on it, and in a right-side toolbar, scroll down until you find the Other tab. Type slideSection in the Classes field.

2. Above the section, create another one with an element (e.g., icon, button, or text) that should be responsible for unfolding. Click on the element, find the Other tab, and type slideTrigger in the Classes field.

REMEMBER: You cannot set the widget in the last section on your landing page as a trigger – nothing will expand. If you want your last widget to unfold the section, add one extra section. In this way, the one before the last will work.
3. Publish your landing page again.
Check if the unfolding section works correctly.