You can choose the pages where your pop-up will be displayed, when it will appear and how often. You will be asked to configure the display options just before a new pop-up is published, but you can change your settings at any time.
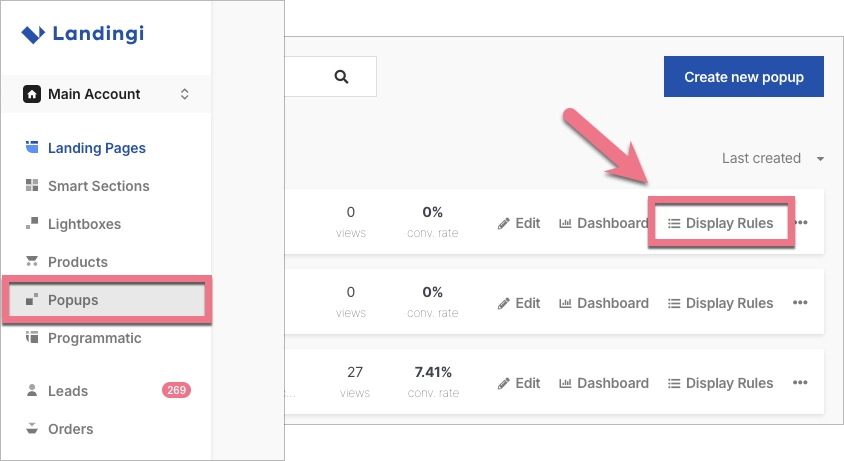
Go to the Pop-ups tab, select the pop-up, and click on Display Rules.
Set display rules for your pop-ups
There are four steps of setting display rules:
- Website targeting
- Triggers
- Frequency
- Publication
I. Websites targeting
Decide where to display the pop-up. You can either add it to a landing page or connect it to an external website.

Pop-ups on your landing pages
1. Click on Add Landing Page. From the list, select your landing page. Remember that you can place the pop-up on more than one landing page. Then Save.

Pop-ups on your external websites
1. Click on Add External Pages. In the new window, type the URL of the target web page (1).
2. By default, the pop-up will be displayed on all subpages of the domain (2). If you also have other subdomains within your root domain, you should add them separately (type the full URL) in the Domain field.

3. NOTE: For other display rules described below, you can specify whether the pop-up will be hidden or displayed on a particular URL. Select Show on or Hide on from the drop-down menu on the left. These options are available when you select a display rule other than All URLs.
If you want the pop-up to be displayed or hidden only on the home page, select Home page.

4. There are some options to hide or display the pop-up:
- Contains – the URL contains a specific phrase;
- Starts with – the URL starts with a selected phrase;
- Ends with – the URL ends with a specific phrase;
- Exact match – type the relative address of the subpage, such as /offer/directory/en.

5. Click on Save. Now you can go to the Next step.
II. Triggers
Triggers determine which user behavior will activate the pop-up on the page. On our platform, you can choose from four different ways of displaying pop-ups. Remember – you can choose more than one.
- (1) Time spent on the website – set the time after which the pop-up will be displayed to the user.
- (2) Scroll down – the pop-up will be displayed when a user scrolls down a page by a percentage of the page you specified.
- (3) Exit intent – the pop-up will be displayed when the user changes the cursor position with the intention of leaving the site.
- (4) Click on element – the pop-up will be displayed when the user clicks on the item you specified (you set it by typing the appropriate ID or class of the element).

III. Frequency
Now you can set the pop-up display frequency.
- (1) Show on every visit.
- (2) Show once on the first visit.
- (3) Show always after the nth visit – specify after which visit the pop-up will start displaying (constantly, on each subsequent visit).
- (4) Show only on the nth visit – specify which visit pop-up will be displayed (only once).
IMPORTANT: One visit lasts 30 minutes. It means that if a user opens your page several times during a 30-minute period, it is counted as one visit.

IV. Publication
Once all the steps have been properly done, the pop-up is ready for publication. Remember to configure each of the pop-up display options; otherwise, the publication will not be possible.
Click on Save changes.

The pop-up will be published automatically if it is assigned to a landing page.
For web pages, you have to install the code displayed in the next step:

To learn more about the functionality of pop-ups, check the guides for editing, statistics, and leads.

