Every element that you put on your landing page has its unique ID number. You can use it to redirect to a section or any other widget, such as the text widget. The ID can not be changed.
You can add a class to any element to assign an action to it or any other function, and you can edit its value anytime. You can use it to create unfolding sections, display pop-ups after clicking on element, animate elements, or create sliders.
Find the element ID and add a class
1. Log in to your Landingi account and navigate to the editor of your landing page.
2. Click an element and go to the Other tab in the toolbar on the right.
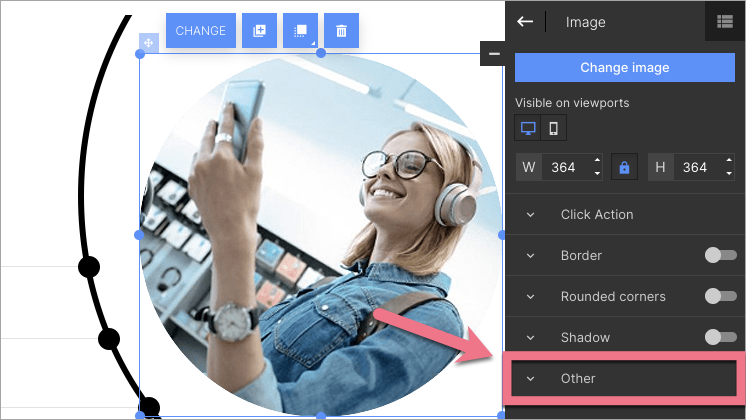
3. Unfold the tab. You will see the element ID (1) and the class field (2).
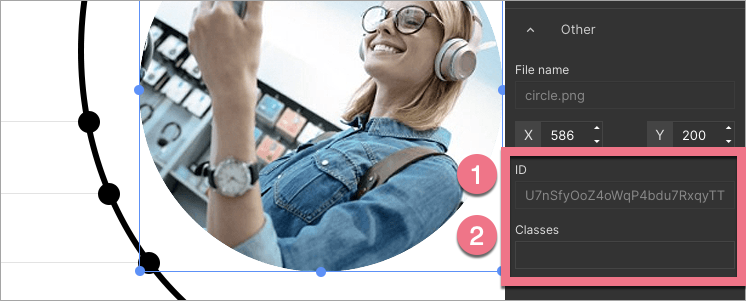
4. Now, you can copy the ID number or add a class to the element.
Elements’ ID numbers are always the same, e.g., form on a lightbox have the same ID numbers, regardless of the landing page to which the lightbox is connected.
Form fields’ ID numbers
Form fields ID numbers are not visible directly in the editor. You can find them on the published landing page.
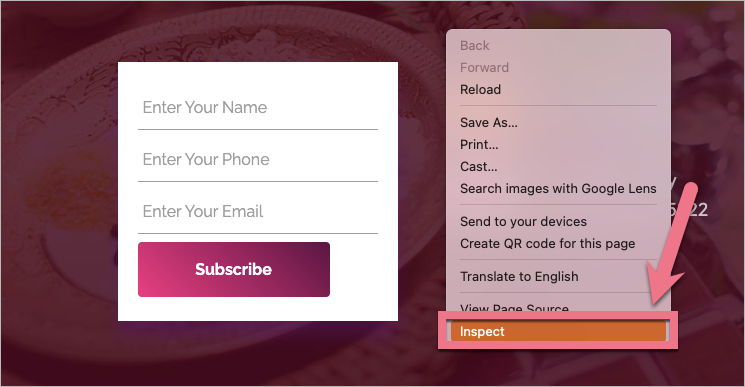
1. Go to your published landing page and right-click next to the form. Select Inspect.
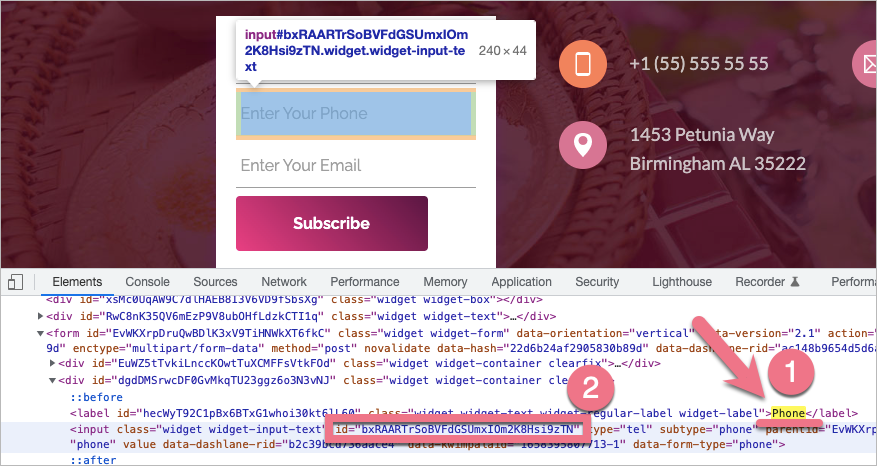
2. An HTML code window will open. Look for the label of your form field (1) (you can use the Cmd/Ctrl+F shortcut). Under the label, you can find this input’s ID number (2).
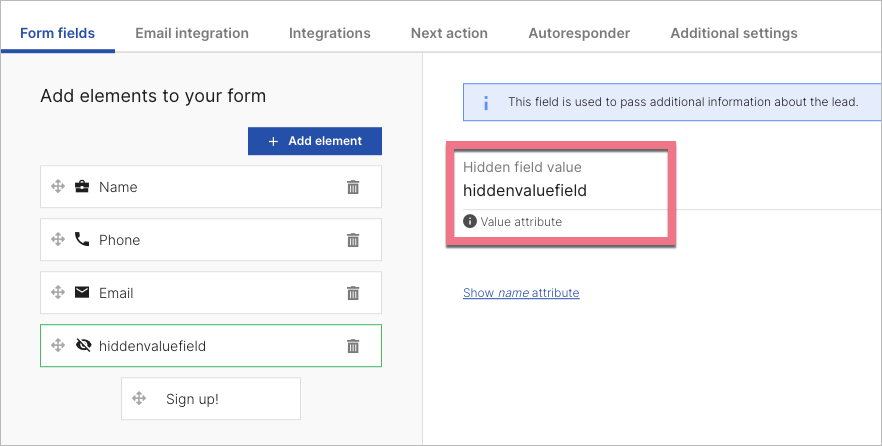
3a. You can also find the ID number of hidden fields. It is easier when a hidden field has a unique value.
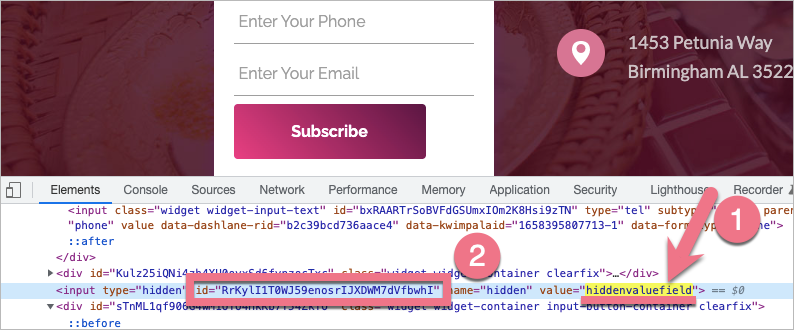
3b. Open the HTML code window and look for the value of your hidden form field (1). You can find its ID number (2) in the same line.
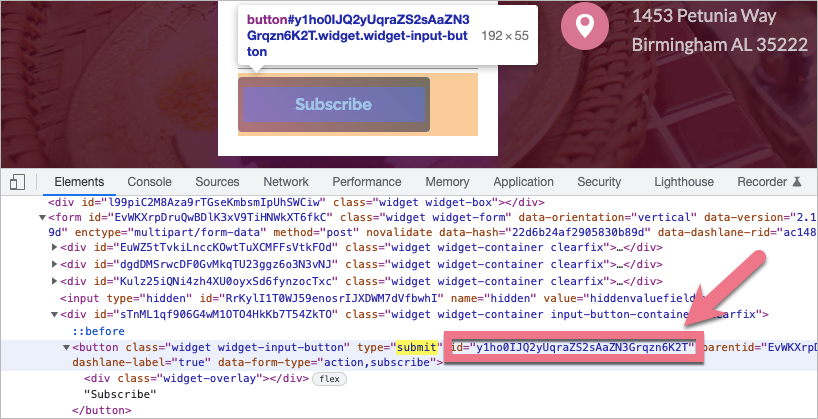
4. Similarly, you can find the submit button’s ID.
