This guide will show you how to edit the text widget in the Landingi platform to create attention-getting texts for your landing pages.
Add text
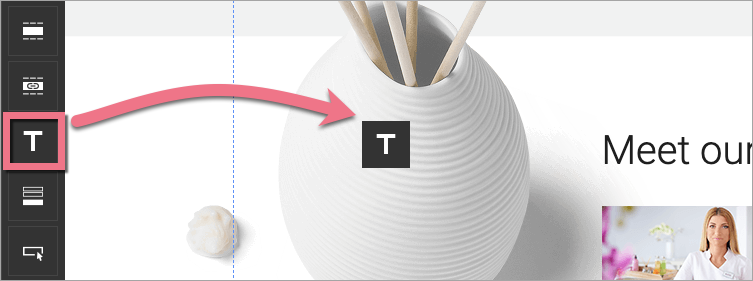
On the left side of the editor, find the Text widget, then drag and drop it into the active area of your landing page.
Edit text
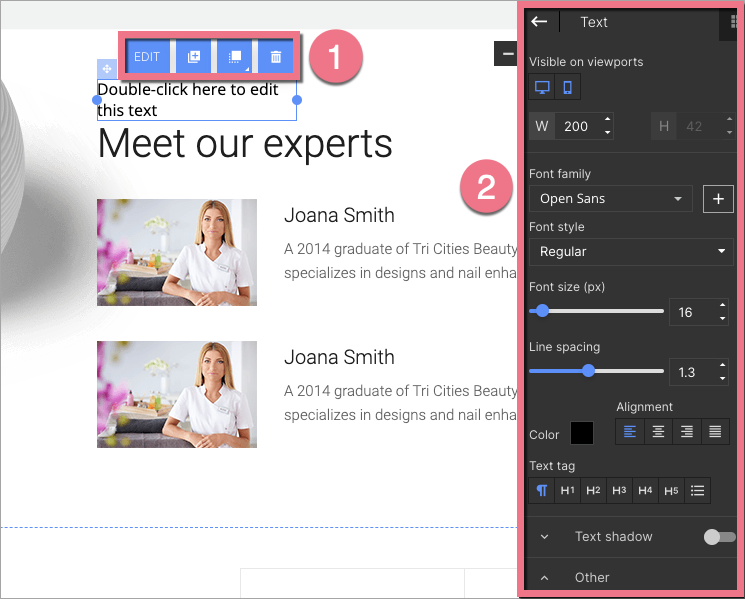
Click on the widget to start editing. You will see its context menu (1) and a toolbar on the right side of the editor (2).
Context menu
1. You can change the width of the text by clicking on the dots on the frame (1). The remaining icons let you change its position (2), enter the text edition (2), duplicate it (4), move it to the top/bottom (5), and delete the text (6).

2. To edit the text, select the whole text or one fragment, and click on Edit.
Now you can choose the font color (1), bold, tilt, change to capital letters, underline, or cross-out (2). You can also add a link (3) to the text or delete it. The last icon allows you to create a scoring list (4).

Text widget toolbar
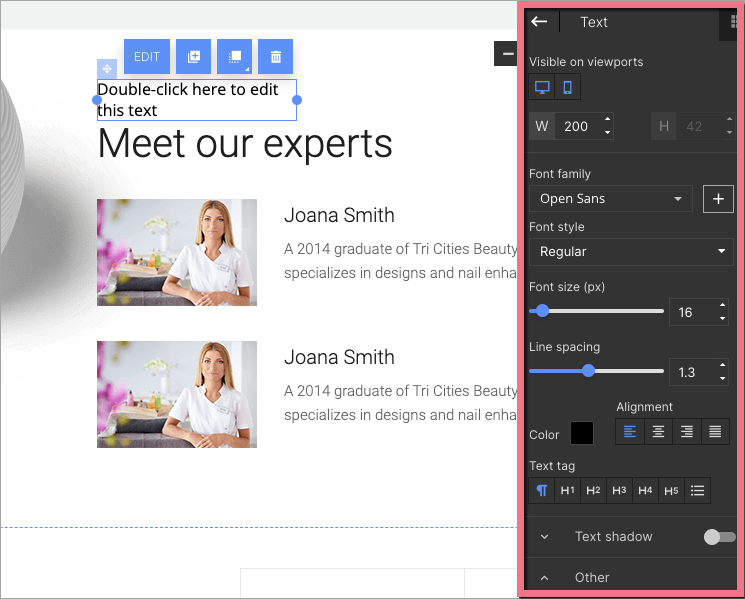
In the widget toolbar, you can turn on/off mobile or desktop view (by default, the text is visible in both views), change the widget width, add new fonts, edit font family, style, size, and color. You can adjust line spacing and alignment and set text tags.
Underneath, you will find tabs with some additional options.
- Text shadow – control the text shadow settings (turn it on or off using the slider located in the right-hand corner of the tab).
- Other – adjust the text position, copy the button ID or add a class.
- List – manage bulleted list styles; the tab is only visible when you select a list style for text.
Editing a bulleted list
1. To convert text into a bulleted list, highlight the desired text and select a list style (1) from the context menu. Then, access the List (2) tab from the panel on the right.
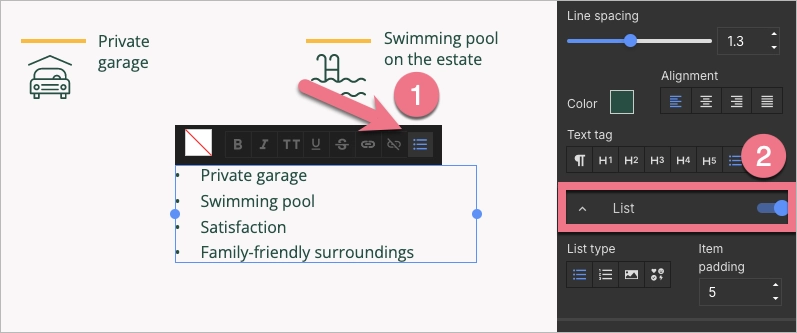
The list types you can choose from are:
- Bulleted list
- Numbered list
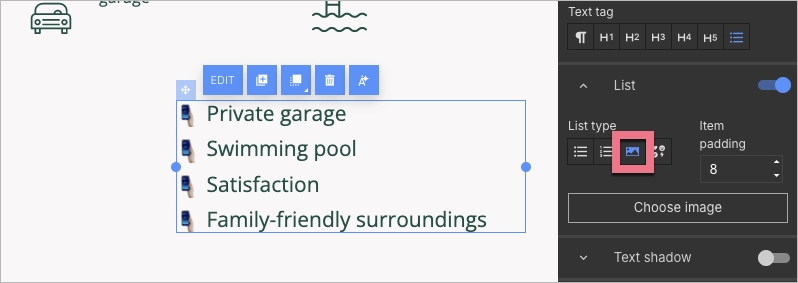
- Images
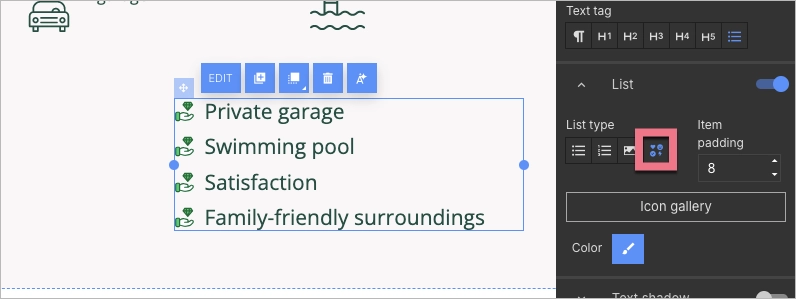
- Icons
In this tab, you can also adjust the padding between bullet points. The size of the points depends on the font size.
2. If you select an image as a list type, you have the option to upload your own image or select one from the Unsplash library. You can edit these images just like you would any other image; this includes tasks such as removing the background, rotating, or cropping.
3. If you select an icon as a list type, you can choose it from the gallery and customize its color.
Redirect to text widget
To redirect to a Text widget, use its ID to create a URL. This allows you to redirect the user to any text on the landing page.
1. Copy ID number of the widget.
2. Place the ID after the ‘#’ sign in the landing page URL. For example, for
https://my.landingpage/
the section URL will look like this:
https://my.landingpage/#b9D73FehAS9JeaoQhvJpITexc
3. Remember that the redirection URL should start with https:// prefix.
