Product

Create, publish and optimize pages with a drag&drop, pixel perfect and mobile-friendly builder

Speed up the creation process with 400+ customizable templates for landing pages, pop-ups and sections

Track microconversions in your Dashboard and analyze events and clicks with visual map

Integrate your pages with your favorite mar-tech apps and solutions to get the flow of your campaign going

Drive sales and conversions with irresistible product displays and seamless shopping experiences

Use a reliable and secure platform that smoothly handles millions of visits

Solutions

How to generate more traffic and get more leads.

How to reach global audience with language versions of landing pages.

How to take care of your digital footprint.

How to publish non-generic, handcrafted pages.

How to manage larger volumes of pages and clients.

How to deliver personalized content to potential customers.

Resources

Master digital marketing with the help from savvy professionals and increase your website’s conversions

Guides for beginners, set-up instructions and creation tips to get started and optimize your pages

A free online course for landing page creators! Learn the secrets of high-converting pages and become an expert

Get the answers you’re looking for – contact us

Schedule a one-on-one meeting with us and learn more about the benefits of our platform

Hire a Design Expert or order an import of your existing page from other platforms to Landingi

Home Help Center Icon widget – an overview

Icon widget – an overview

TABLE OF CONTENT

Icons help to navigate through a page, highlight text fragments, and visually complete the content or sometimes replace it. In Landingi, you can choose from hundreds of free icons and adjust the colors to align them with the theme of your campaign

NOTE: The Icon widget is not available with the Core plan.

Editing icons

To add an icon to your landing page in Landingi, find the Icon widget in the editor, then drag and drop it into the active area of your landing page.
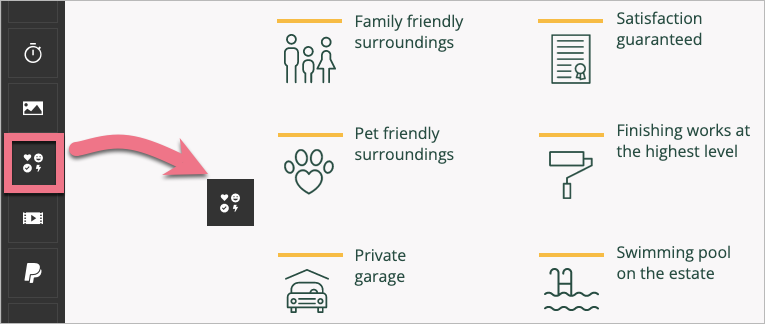
You’ll see a library of icons. You can filter them by categories and styles. 

To edit the colors of the icon, click on it and select Edit colors.
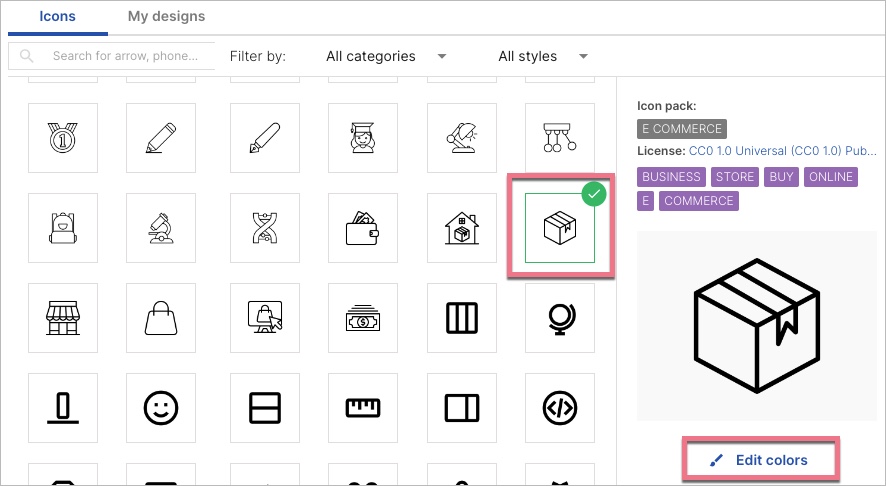
Most icons are free for personal and commercial use, and you’re not usually required to credit the author of the original. To see a detailed license of an icon, click on it, and select the license name above the icon.

You can also change an icon’s opacity. Select the icon and adjust the percentage of opacity in the right-side toolbar.

Icons in bulleted lists

If you create bullet point lists, you have the option to select icons for the bullet points and customize their color.

1. Select a list style (1) for the text, then open the List (2) tab from the panel on the right.

2. To select an icon for the bullet points, click on the fourth list type, browse the icon gallery, and adjust the color if needed.

Click actions and general settings

In the widget toolbar on the right, you can set one of the three click actions: link to URL, scroll to the section, or show lightbox. 

Read more about Element ID and classes, and rotating and mirroring elements