If you want to rotate or mirror an element on your landing page, you can do this in two ways:
- mirror and rotate (by 90, 180, or 270 degrees) images directly in the editor;
- mirror and rotate icons & custom-rotate images by adding your own CSS code.
Set images rotation and mirroring in the editor
With this method, you can also rotate and mirror images in a pop-up editor.
1. In the editor, add the Image widget.

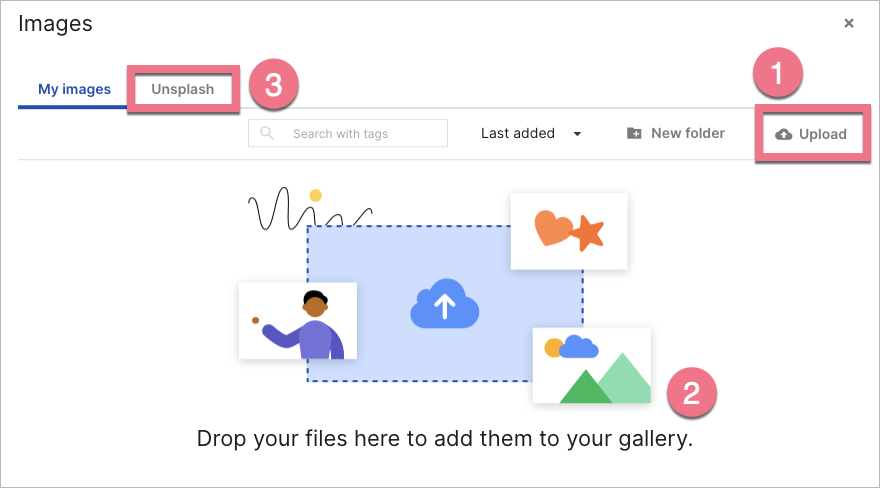
2. Upload your image: click Upload (1); drag files from your computer and drop them in the editor (2); or add images from Unsplash (3).
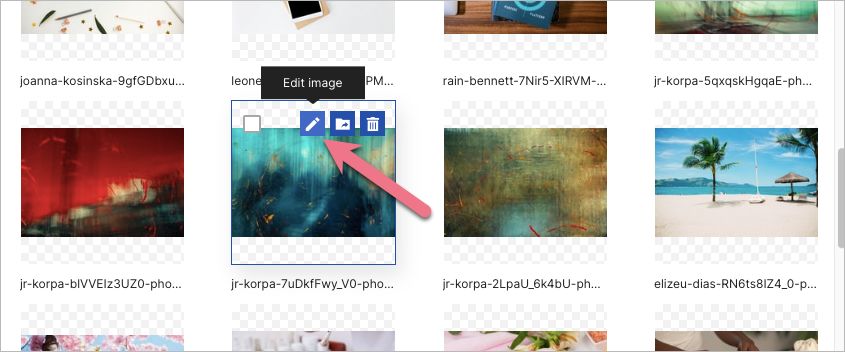
3. Once the file is uploaded to the gallery, hover over the image and click Edit image (pencil icon).
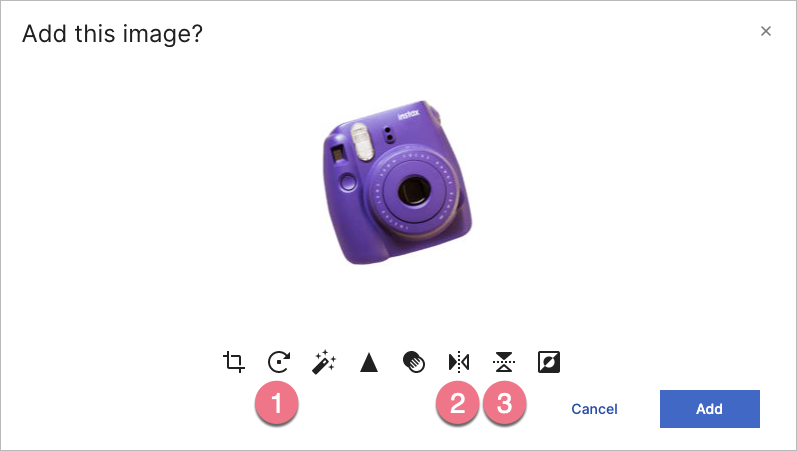
4. In the editing window, you can rotate (1), mirror (2), or flip (3) the image. To save the changes, click Add.
The edited image will be saved in your gallery as a copy. Now, you can use it on your page.
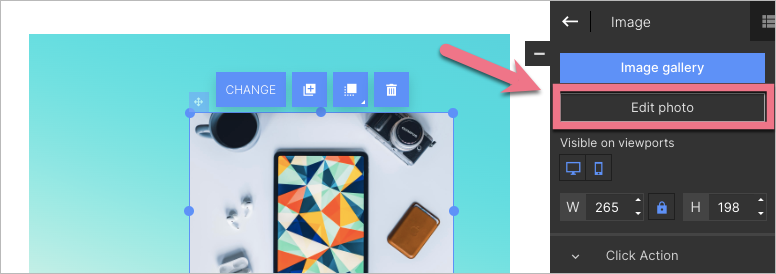
5. Images from Unsplash will be added directly to your landing page – to edit them, go to your gallery or click Edit photo in the right-side toolbar.
Custom rotating and mirroring
1. Go to the editor of your landing page.
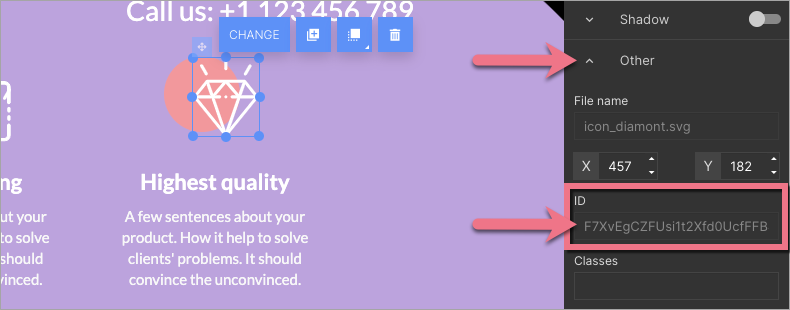
2. Click on a chosen element and find its ID in the Other tab in the right-side toolbar. Copy the ID.
2. Go to Page Settings and click Add custom CSS.

When editing, you can go back to Page Settings by clicking on the arrow:

3. Copy one of the CSS codes indicated below and paste it into the Main page tab. Change elementID with the copied ID number.
NOTE: To see the rotation or mirroring, publish the landing page.
Rotating elements
- The value rotate(45deg) means the element will rotate 45 degrees clockwise. If you want to change this value, enter a different degree range in brackets, e.g., rotate(90deg).
- If you would like to rotate the element counterclockwise, enter the minus symbol “-” in brackets next to the degree value, e.g., rotate(-30deg).
#elementID {
transform: rotate(45deg);
}
Mirroring elements
#elementID {
transform: scaleX(-1);
}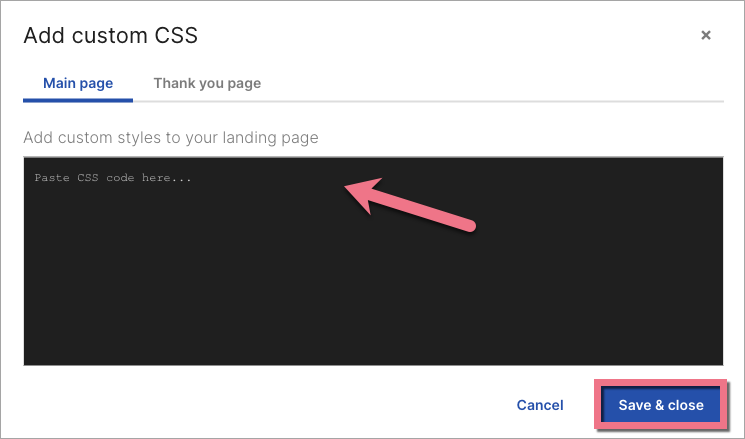
4. Save & close. Then publish your landing page.
