CookieYes is a cookie consent management platform. It helps your website achieve GDPR and CCPA compliance. This guide will walk you through integrating CookieYes with your landing page in Landingi.
There are few more tools you can integrate Landingi with that can help you manage your cookies and privacy policy:
Get your code from CookieYes
1. Log in to your CookieYes account.
2. In Dashboard (1), select your website or add a new one (2).

3a. If you select an existing site, click Installation code to get your code.

3b. If you add a new site, you will be redirected to customize your cookie banner. When you’re ready, click Next Step.

4. Click Copy Code.

5. After installing the code in Landingi, you can go back to this page and click Verify Installation to check if the code works correctly.

6. At any time, you can customize your banner in the Cookie Banner tab. Remember to Publish Changes.

Install the code in Landingi
1. Log in to your Landingi account and navigate to the Dashboard of your landing page.
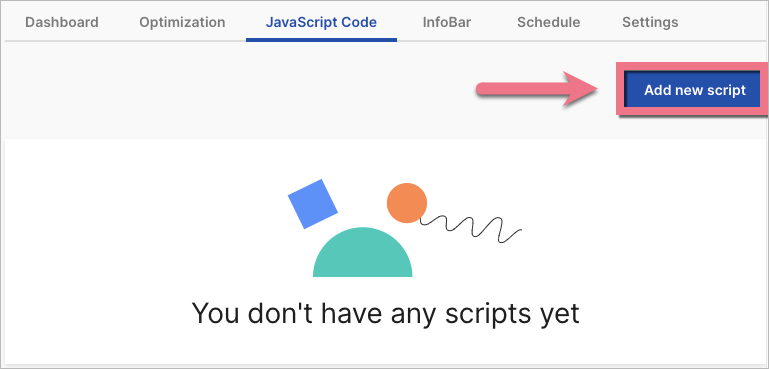
2. In the JavaScript Code tab, add a new script.
3. Name (1) the script and choose the Head (2) position on the Main page (3). Paste the code in the content (4) field. Save by clicking Add script.

4. You need to add another code so that the CookieYes widget stays on top of other elements. To do so, go to the editor of your landing page and add a new HTML widget at the page’s bottom.

5. Copy the following code:
<style>
.cky-consent-container {
z-index: 99999!important;
}
</style>
6. Paste the code in the Add HTML code field and save the changes.

7. Publish your landing page.
Open your landing page and check if the cookie banner works correctly.

Browse all integrations in our Integrations Catalog to see tools you can connect Landingi with.

