Product

Create, publish and optimize pages with a drag&drop, pixel perfect and mobile-friendly builder

Speed up the creation process with 400+ customizable templates for landing pages, pop-ups and sections

Track microconversions in your Dashboard and analyze events and clicks with visual map

Integrate your pages with your favorite mar-tech apps and solutions to get the flow of your campaign going

Drive sales and conversions with irresistible product displays and seamless shopping experiences

Use a reliable and secure platform that smoothly handles millions of visits

Resources

Master digital marketing with the help from savvy professionals and increase your website’s conversions

Guides for beginners, set-up instructions and creation tips to get started and optimize your pages

A free online course for landing page creators! Learn the secrets of high-converting pages and become an expert

Get the answers you’re looking for – contact us

Schedule a one-on-one meeting with us and learn more about the benefits of our platform

Home Help Center Creating image gallery on agency account

Creating image gallery on agency account

TABLE OF CONTENT

If you own an Agency account, you can create image galleries that will be available for use on your landing pages and by your subaccounts.

Create galleries for subaccounts

1. Log in to your Landingi agency account and go to the editor.

2. Find the Image widget, then drag and drop it into the active area or double-click on any image widget.

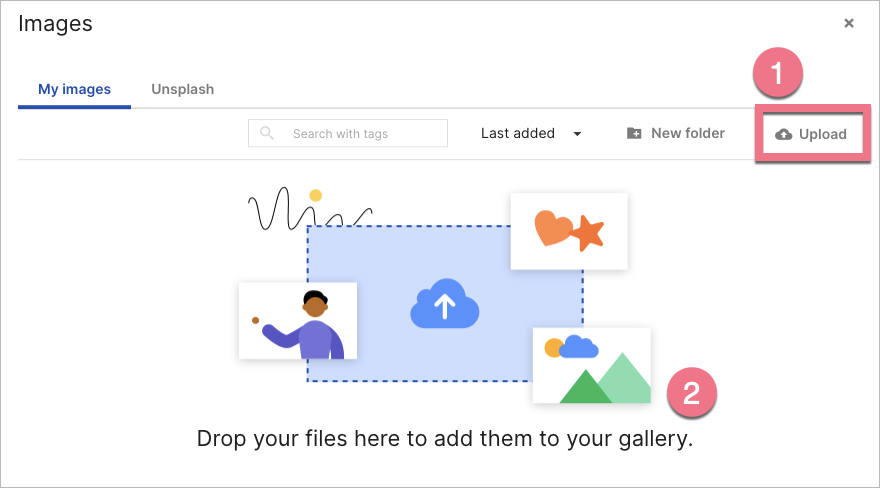
3. Add images. Click Upload (1) or drag files directly from your computer and drop them into the gallery (2).

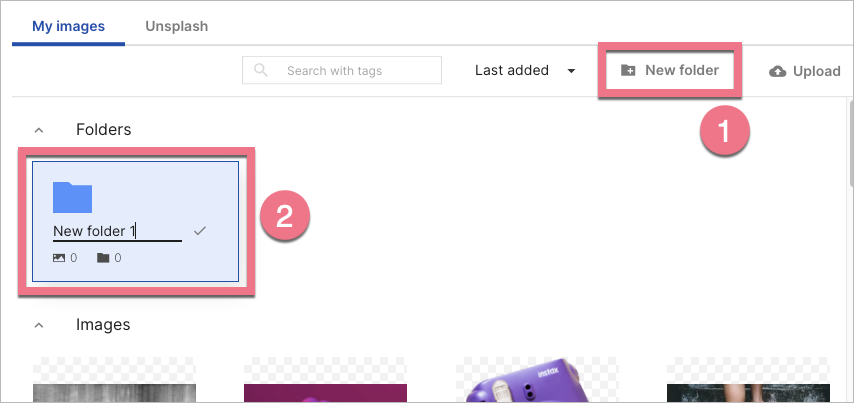
4. Images can be organized in folders. Click New folder (1) to create a new one, then name it and save (2).

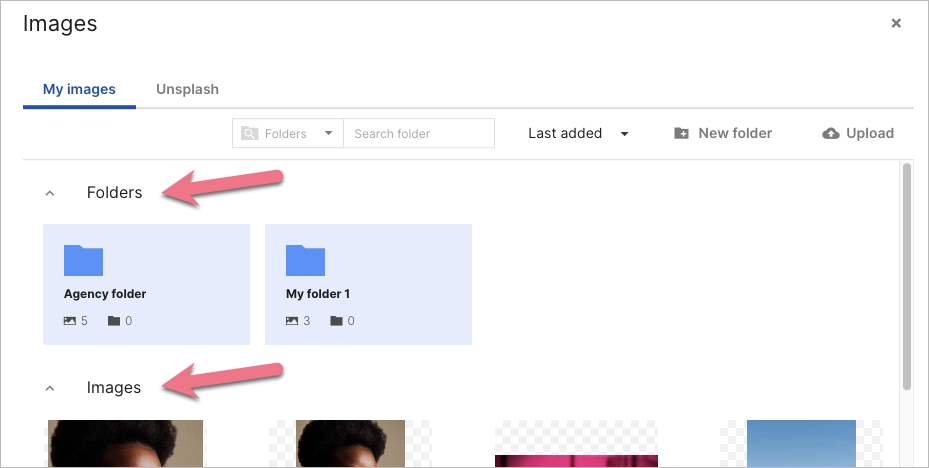
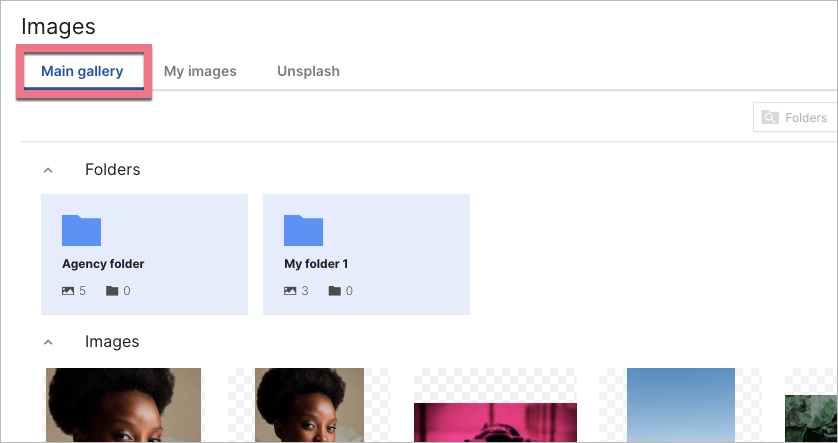
5. Both Images and Folders from your My images gallery will be automatically available for subaccounts in their Main gallery tab.

Owner of an Agency account:

Subaccounts:

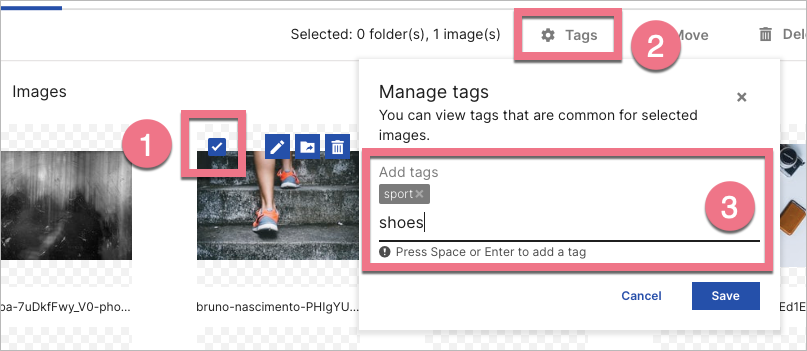
6. You can use tags to categorize your images and search them. To add them, select an image (1), click Tags (2), and enter keywords that describe the file (3). Do not forget to Save.

Learn more: