Huggy Chat widget is a channel of communication that can be added to your site for more efficient contact with your potential customers. In this guide, you will learn how to install a Huggy Chat widget on your landing page in Landingi.

Get the code from Huggy
1. Log in to your Huggy account.
2. Before you get the code to install your Huggy Chat, make sure that you have entered your landing page URL in settings. To do so, go to Settings (1), select the Company data (2) tab, and change your website URL (3).

3. In Settings, navigate to the Channels (1) tab and click Widget (2).

4. Choose the default widget or create a new one by clicking Add a new Widget.

5. Name (1) your chat widget and click More options (2).

6. Adjust the settings of your chat. Then click Save.

7. You will see the HTML code. Copy it.

Install the code in Landingi
1. Log in to your Landingi account and enter the Dashboard of your landing page.
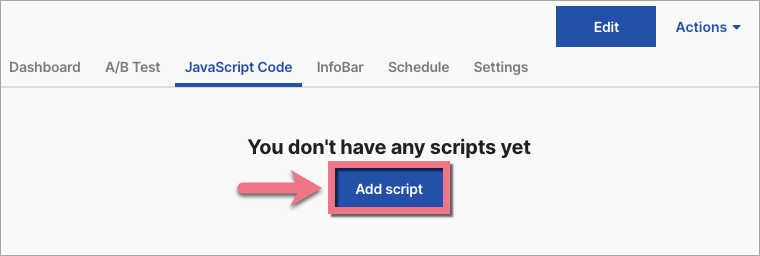
2. Go to the JavaScript Code tab and click Add script.
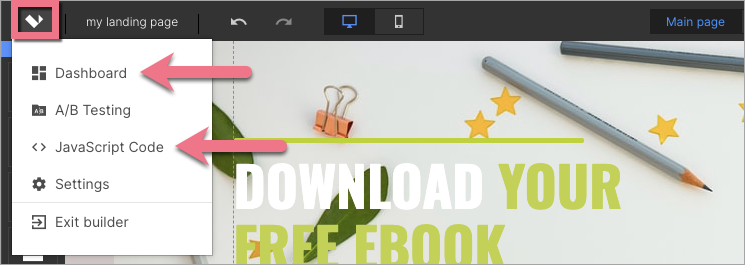
You can enter the Dashboard and JavaScript Code tab also from the editor:
3. Name your script, paste the code in the Content field and choose the Body bottom position on the Main page. Save by clicking Add.

From now on, you will see a Huggy Chat widget on your landing page.

Browse all integrations in our Integrations Catalog to see tools you can connect Landingi with.

