In our platform, you can create a field in the form that allows the user to send you files, such as a resume or a signed application. Adding this field to the form is easy and quick.
Enable uploading files in the contact form
1. On the left side of the editor, find the Form widget, then drag and drop it into the active area.

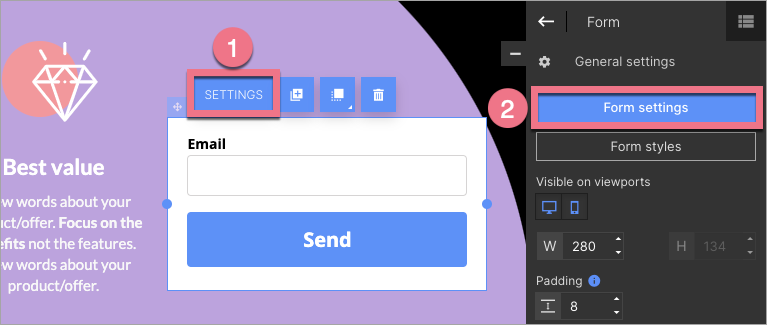
2. Click on the form and enter its Settings from the context menu (1) or the toolbar on the right side of the editor (2).
3. Go to the Form fields tab, click Add element (1), and select File (2).

4. Fill in the fields and check your options. Then Save & close.

5. When your landing page/pop-up is ready, publish it, and remember that a link to the file will be sent in e-mail notifications.
Depending on your plan, it is also available in the Leads tab of your Landing account.

Click on Details of the selected lead, copy the file address, and paste it to your browser to download it.

REMEMBER! The maximum size of a file is 8 Mb.
Supported file formats are:
– .jpg,
– .png,
– .pdf,
– .txt,
– .doc,
– .docx,
– .bmp,
– .xls,
– .xml.

