Product

Create, publish and optimize pages with a drag&drop, pixel perfect and mobile-friendly builder

Speed up the creation process with 400+ customizable templates for landing pages, pop-ups and sections

Track microconversions in your Dashboard and analyze events and clicks with visual map

Integrate your pages with your favorite mar-tech apps and solutions to get the flow of your campaign going

Drive sales and conversions with irresistible product displays and seamless shopping experiences

Use a reliable and secure platform that smoothly handles millions of visits

Resources

Master digital marketing with the help from savvy professionals and increase your website’s conversions

Guides for beginners, set-up instructions and creation tips to get started and optimize your pages

A free online course for landing page creators! Learn the secrets of high-converting pages and become an expert

Get the answers you’re looking for – contact us

Schedule a one-on-one meeting with us and learn more about the benefits of our platform

Favicon

TABLE OF CONTENT

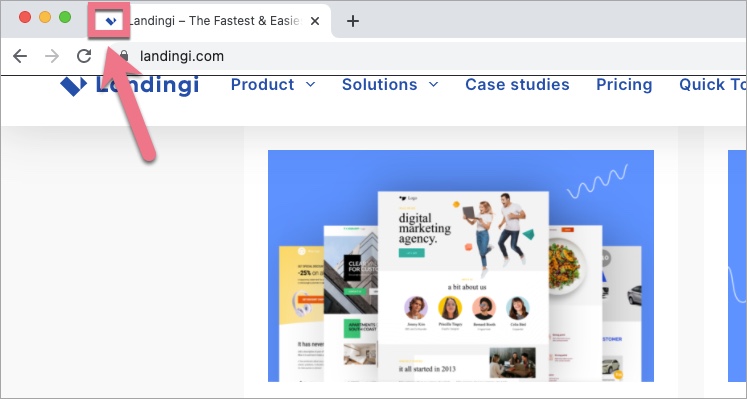
The favicon is a small image that represents your page. You can see favicons next to the page’s name on the browser tabs, bookmarks, or search bars. It helps your page to stand out.

By default, a favicon of your landing page in Landingi is the Landingi logo. You can change it and add your individual favicon for each landing page.

Upload a favicon

1. Log in to your Landingi account and navigate to the editor of your landing page.

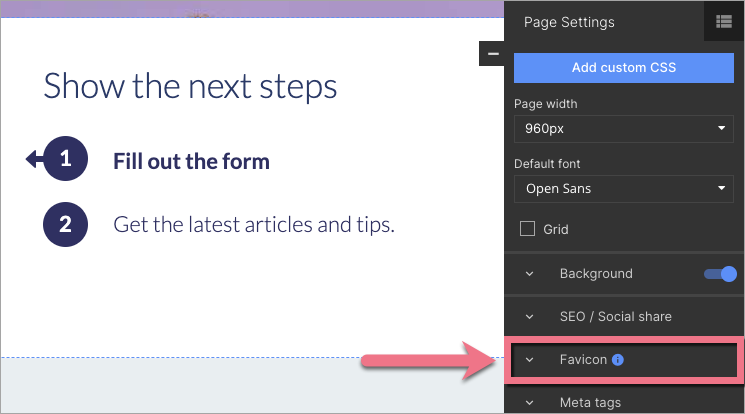
2. In the right-side toolbar, navigate to Page Settings.

When editing, you can come back to Page Settings by clicking an arrow:

3. Find the Favicon tab and unfold it.

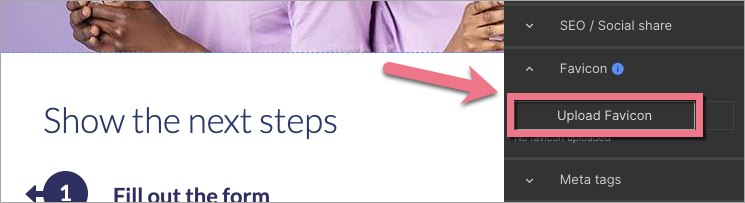
4. Click Upload Favicon and import a file from your computer. Recommended file extensions are .png and .ico

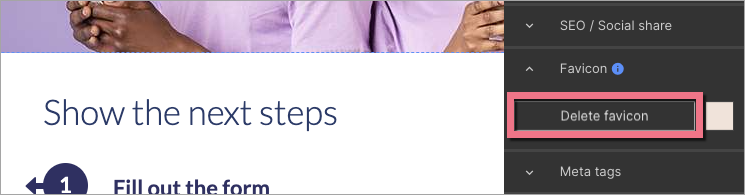
5. If you want to change the favicon, firstly, delete the foregoing one.

6. Publish your landing page.

Check if the favicon is displayed correctly.

NOTE: There is no recommended specific file size for a favicon. Each image will be scaled automatically