The countdown timer can be placed on landing pages, pop-ups, and lightboxes. The widget has two countdown modes, each with a maximum range of 999 days:
Date counter – you select the date of the event in the settings, and the timer counts down the time left until the event starts or ends.
Evergreen counter – each unique visitor will see the same countdown range, regardless of when they enter the page. This type of counter can encourage the user to make a decision. For example, if you set the countdown to 15 minutes, each new unique visitor will see a counter that counts down 15 minutes until the event ends or starts. If the same unique user accesses your page multiple times, the countdown doesn’t start over – it continues.
You can set up a URL redirection after each type of countdown ends.
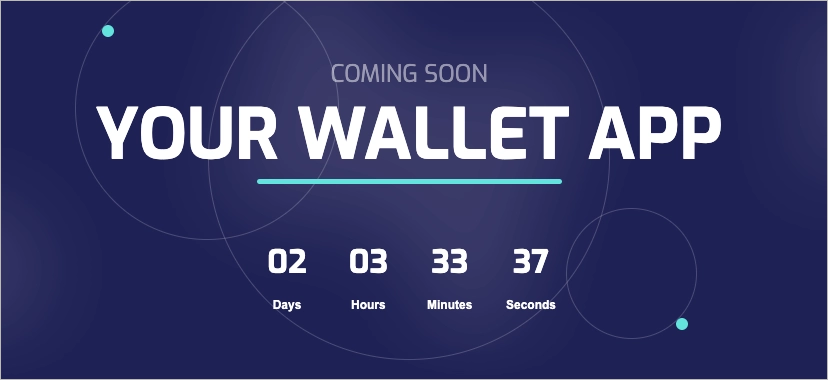
An example of a countdown on a landing page:
Setting up the countdown
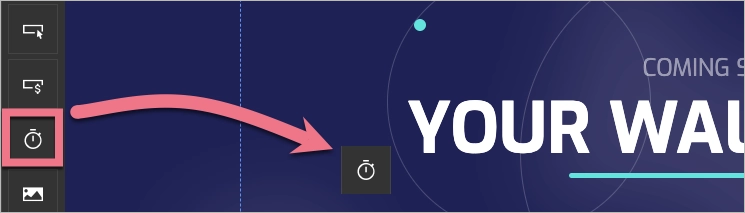
1. On the left side of the editor, find the Counter widget, then drag and drop it into the active area of the section.
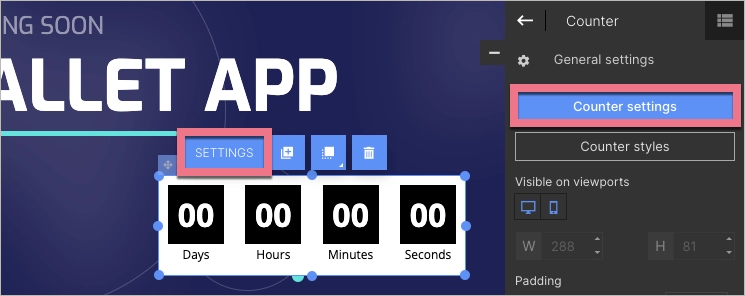
2. Click on the counter to start editing. Go to the settings either from the context menu or the widget toolbar on the right.
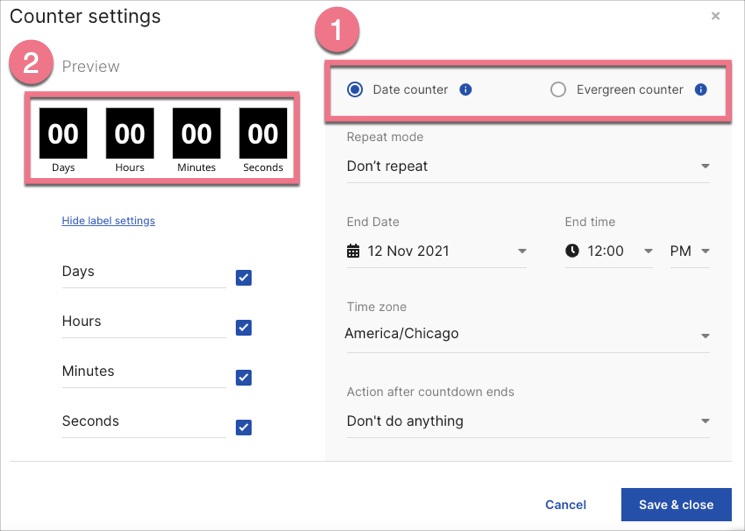
3. In settings, select the type of counter (1) and configure the countdown. On the left, select which labels to display (2) (days, hours, minutes, seconds).
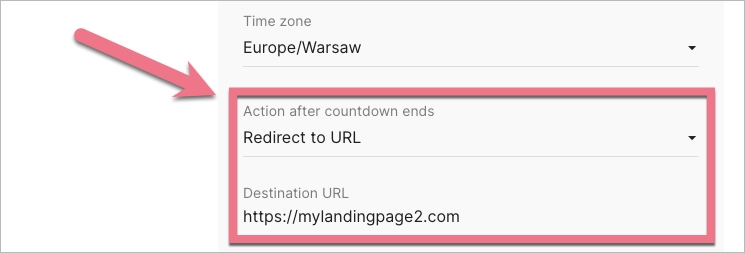
4. Once the countdown has ended, you can redirect visitors to another URL. To do this, in the Action after countdown ends field, select Redirect to URL and enter the address for the redirect.
The visitor will be redirected to a different address after the countdown has ended in both the date counter and the evergreen counter.
If you want to permanently redirect the counter page to another address, use the campaign schedule.
5. Save the changes.
Design and style
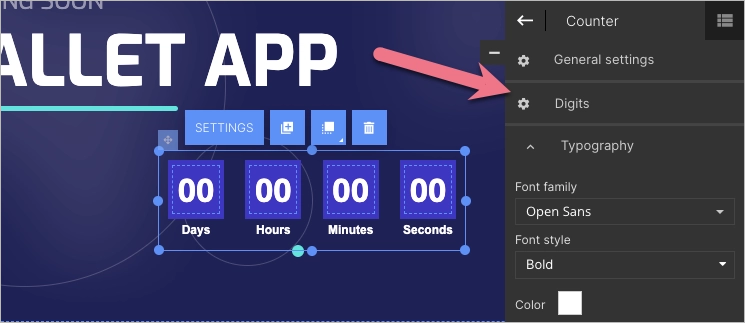
The counter is fully customizable, and you can change the display of every element. Click on an element, such as the digits, and on the right in the side panel (Digits or Labels tab), you will see editing options for the element.
Go to General settings to select the viewports, adjust the background, copy the widget ID or add a class.
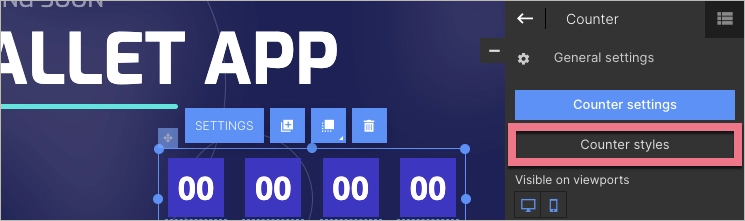
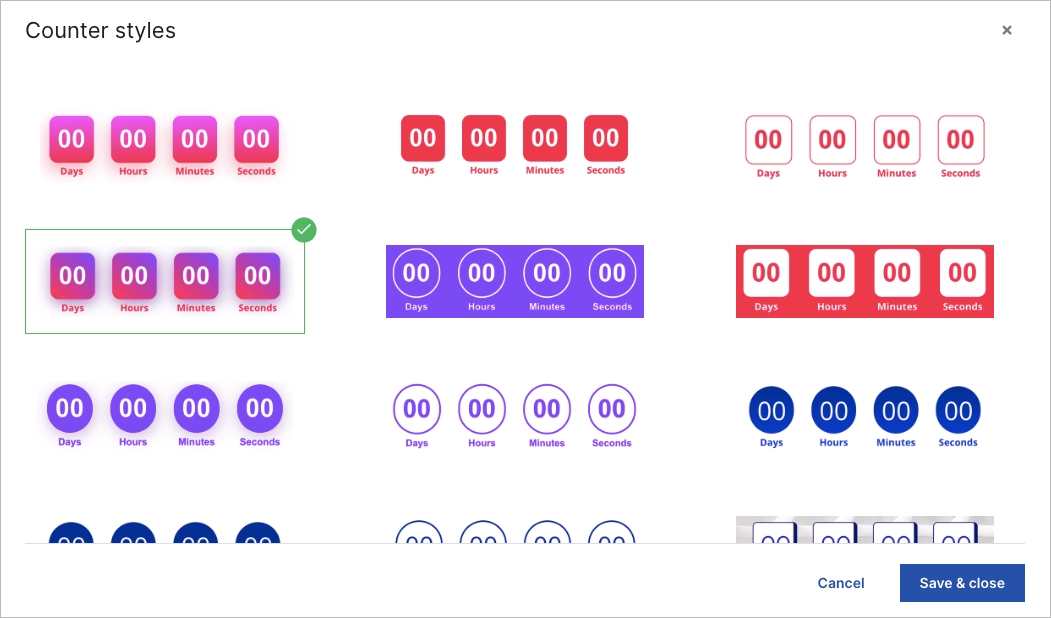
You can find templates in the Counter styles tab (General settings). They’re also fully editable.
To use counter styles, select one and Save & close.
Preview
To view the counter before publishing, you can either go to the Counter settings (without counting down) or click on Preview in the top right corner of the editor (with counting down).