Fomo is a social proof marketing platform that enables you to create customizable web push notifications, which you can integrate with your landing pages.
You can integrate Fomo with your landing page using the POST integration.
Get your Webhook URL from Fomo
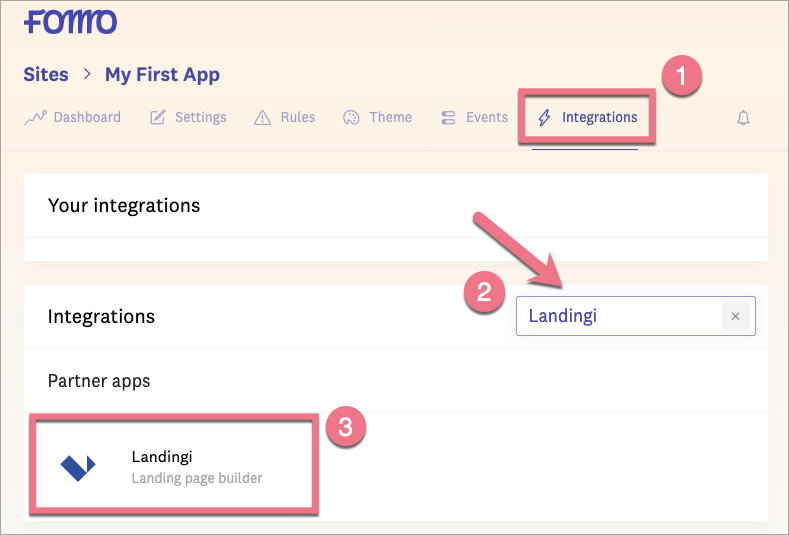
1. Log in to your Fomo account. In the Integrations (1) tab, search for Landingi (2). Click on the Landingi app (3).
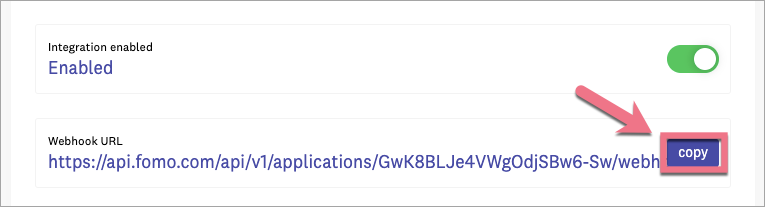
2. Click on Connect with Landingi.

3. Find your Webhook URL and Copy it.
Install the Webhook URL in Landingi
1. Log in to your Landingi account and go to the editor of your landing page. Click on a form widget and navigate to its Settings and Integrations tab. Click on Send data to a URL as POST.

2. In the URL address field, paste the link copied from Fomo.

3. Save the changes. Publish the landing page.
Displaying Fomo notifications
1. In your Fomo account, navigate to the Settings (1) tab and then to the Embed (2) tab. Copy the snippet (3).

2. Go back to your Landing account and navigate to the Dashboard of a landing page where Fomo notifications should be displayed. Go to the JavaScript Code tab and click on Add script. You can find more details about adding your own JavaScript here.
3. Name the script and paste the snippet. Select Body bottom, and – depending on where you want Fomo notifications to be displayed, choose Main page, Conversion page, or Both. Click on Add.

4. Publish your landing page and fill out the form to check whether your Fomo notifications display correctly.
Modifying Fomo notifications
You can modify the messaging and variables of your Fomo notifications in Fomo > Integrations > Landingi.
1) This is what the exemplary Fomo notification looks like:

To edit the notification, go to Integrations > Landingi, choose your connection (Integration Connections), find Landingi Lead, and click Edit.

2) You can connect unlimited Landingi forms to the same instance or the new one by clicking on Integrations > Landingi > Connect new.

Connecting multiple instances enables you to have unique messaging, rules, and themes for every landing page, for example displaying leads for Product A only on a Product A landing page.
3) You can also edit other notification features, such as Timeline, Devices & Positions, Limits, Actions, Analytics, Geo-Targeting, and Advanced.

Browse all integrations in our Integrations Catalog to see tools you can connect Landingi with.

