LinkedIn Insight Tag is a code that you add to your landing page to use LinkedIn features like website retargeting, conversion tracking, and website demographics. It helps you to boost the relevance of your LinkedIn ads to your audience. It works similarly to a Facebook pixel.
LinkedIn Insight Tag is necessary when you want to track conversions on LinkedIn.
Get your Insight Tag code
1. Sign in to your LinkedIn Campaign Manager.
2. If you do not own a LinkedIn ad account, create one.
3. Navigate to the Analyze tab and click Insight Tag.

4. Click Install my Insight Tag.
5. Choose how to install the tag. You can use a tag manager, e.g., Google Tag Manager. To do so, click the relevant link to jump into the instructions. Copy your partner ID as it is needed for the installation.
Install Google Tag Manager on your Landingi account to make the LinkedIn tag work on your landing page.

6. You can also install the tag yourself. Unfold the tab and copy the code. Then, in a new browser tab, go to Landingi.

Install the tag in Landingi
1. Log in to your Landingi account and navigate to the Dashboard of your landing page.

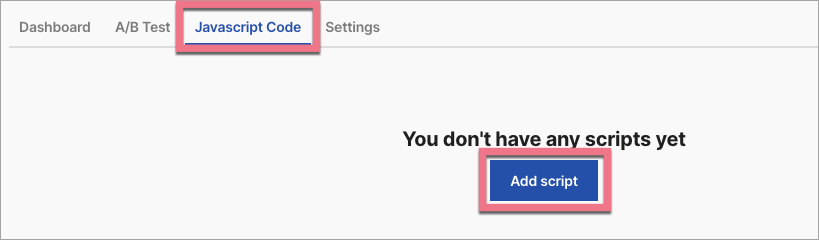
2. Go to the JavaScript Code tab and click Add script.
3. Name (1) the script and choose the Body bottom (2) position on the Main page (3). Paste the tag in the content field (4). Save by clicking Add script.
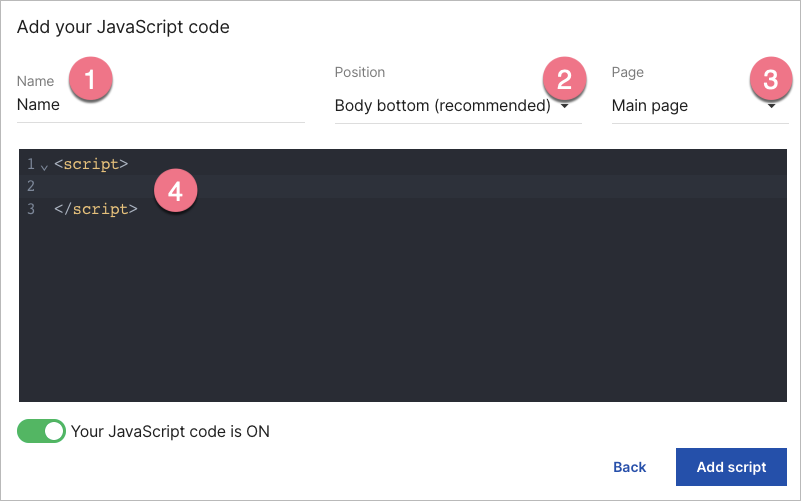
If you want the LinkedIn Insight Tag to work also on thank you page, add it to both pages.

4. Go back to LinkedIn Campaign Manager. Navigate to Analyze > Conversion tracking > Data sources. Here you can check whether your tag has been verified – it may take up to 24 hours to see the status switch to Active.

Now, you can start conversion tracking on LinkedIn.
Browse all integrations in our Integrations Catalog to see tools you can connect Landingi with.

