OptinMonster is a customer acquisition and lead generation platform. It gives the ability to create opt-in campaigns. This guide will walk you through embedding your OptinMonster campaigns on your landing page in Landingi.
Get your code from OptinMonster
Before you start integrating OptinMonster with Landingi, see how to create your first OptinMonster campaign.
1. Once your OptinMonster campaign is ready, go to the Publish tab.

2. Click Publish.

3. Go to the Platform section of the Publish View. Select Any Site.
Choose account-wide or campaign-specific code and copy the code.

Install the code in Landingi
1. Log in to your Landingi account and navigate to the editor of your landing page.
2. Find the HTML widget, then drag and drop it into the active area of the editor.

3. Double-click the HTML widget to edit it.
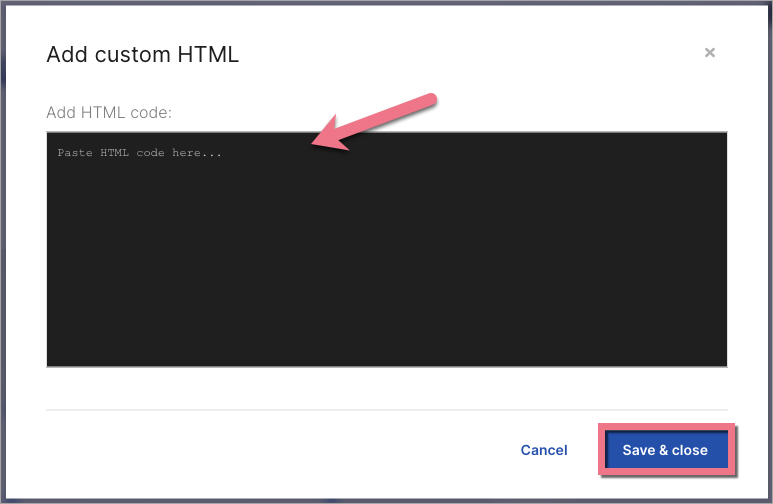
4. Paste the code from OptinMonster in the Add HTML code field. Then Save & close.
5. Publish your landing page.
See if everything displays correctly. If needed, go back to the editor and adjust the HTML widget’s width and position.
Browse all integrations in our Integrations Catalog to see tools you can connect Landingi with.

