Revealing cards are elements that become transparent when hovering over them. You can hide some text underneath or add a link to them. To create revealing cards in Landingi, use some advanced functions inside our editor and a bit of the CSS code.
See the example here: https://www.landpage.co/revealingcards (please, hover over one of the graphical elements on the page).

Add the CSS code
1. Log in to the Landingi platform and go to the editor of your landing page.
2. Navigate to Page Settings and click Add custom CSS.

When editing, you can go back to Page Settings by clicking on the arrow:
3. In the Add custom CSS window, choose the Main page tab and paste the code indicated below. Then Save & close.
.card { transition: all 0.3s; } .card:hover { opacity: 0.2; }
Create revealing cards
Decide which elements will be revealing cards on your landing page. Images work the best, as you can set a link to them.
1. On the left side of the editor, find the Image widget, then drag and drop it into the active area of your landing page. Read more about image widget options here.

2. In the right-side toolbar, find the Other tab. Then type card in the Classes field.

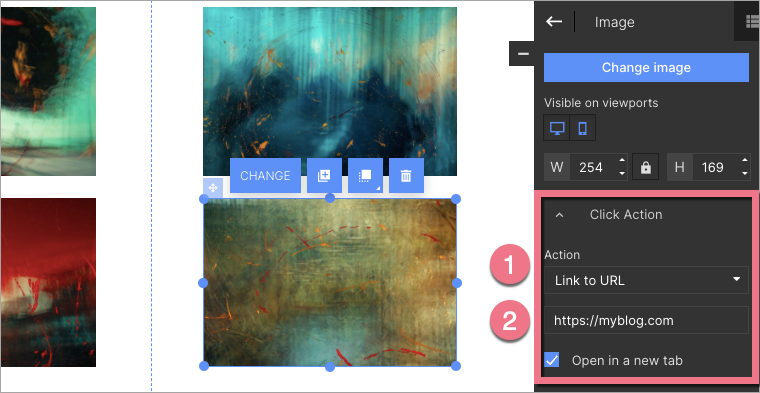
3. If you want to add a redirection link to your image, find the Click Action tab, choose Link to URL (1) from the drop-down menu, and paste your link (2). Select the Open in a new tab option, if needed.
4. To add text that will be visible after hovering over the element, find the Text widget, then drag and drop it into the active area of your landing page.

5. Place the text in the middle of the element. Edit it as needed.

6. Then click on the element below (1), choose Change layer (2), and click Move to top (3).

7. Publish your landing page.
Check if your revealing cards display correctly.

