The Twitter (X) pixel is a measurement tag that is implemented on your website to track users’ actions. It allows advertisers to send conversion data to X and optimize their campaigns.
You can add the X pixel code to your landing page by implementing it in the JavaScript codes.
Get your base code from X (Twitter)
1. Log in to your X account and go to Ads Manager.
2. Open the Tools menu and select Events manager.
3. Click Add event source to create a new pixel. Then click Save.
4. Select the Install with Pixel code option.
5. You can access the code at any time by selecting the pixel and clicking View Twitter pixel/View X pixel in the Events manager section.
6. Review the settings and enable the Allow 1st-Party Cookies option. Copy your code.
Install the base code in Landingi
1. In a new tab, log in to your Landingi account and go to the Dashboard of your landing page.
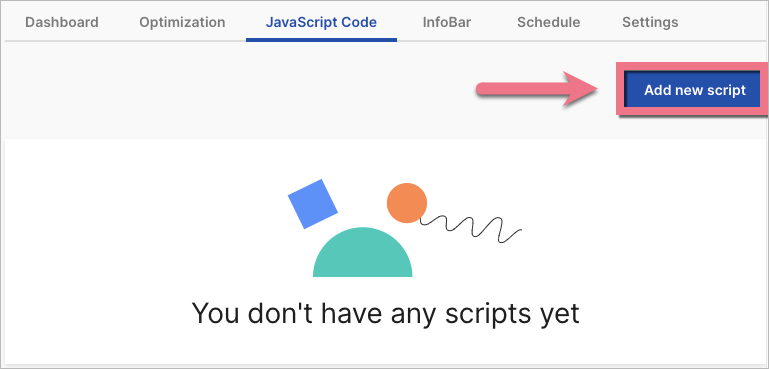
2. Navigate to the JavaScript Code tab. Click Add new script.
You can enter the Dashboard and JavaScript Code tab also directly from the editor:

3. Name (1) the script, and choose the Head (2) position on the Main page (3). Paste the code in the content field (4). Save by clicking Add script.

4. If you want to measure conversion also on a thank you page, add one more JavaScript code.
Name it (1) and choose the Head (2) position on the Thank you page (3). Paste the same base code in the content field (4). Save by clicking Add script.

Install the event code
Twitter (X) event code lets you track more actions that take place on your landing page.
1. To create an event code, go to Events manager > Overview and click Add events.
2. Name the event (1) and select the event type (2). Adjust other settings, if needed. Click Next.
3. As a Setup method, choose Define event with code and click Next.
4. From the Website code section, copy your event code.
5. Go to your landing page Dashboard and add another JavaScript code.
6. Name it (1) and choose the Head (2) position on the Main page, Thank you page, or both pages (3). Paste the event code in the content field (4). Save by clicking Add script.

Verify your Twitter pixel
It can take up to a few hours for the pixel to have an active status in your dashboard in X Ads Manager.
You can verify if the pixel is installed correctly with the X Pixel Helper.
1. Download the X Pixel Helper extension for Chrome. Install it and add it to your browser.
2. Once it is installed, navigate to your landing page. Click the extension icon next to your Chrome address bar. The X Pixel Helper should automatically detect any X pixels that send data to X.
Browse all integrations in our Integrations Catalog to see tools you can connect Landingi with.

