With the Webhook integration, you can send data from the form using both the POST and GET methods – you can choose the method that suits you best. Our integration allows you to add multiple request URLs.
Set up the Webhook integration
1. Log in to your Landingi account and go to the editor.
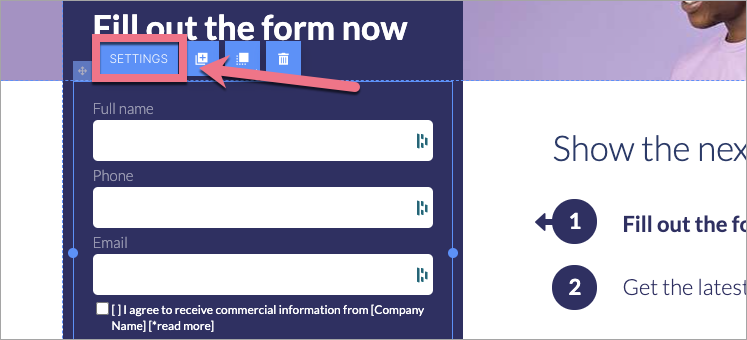
2. Navigate to the form Settings.

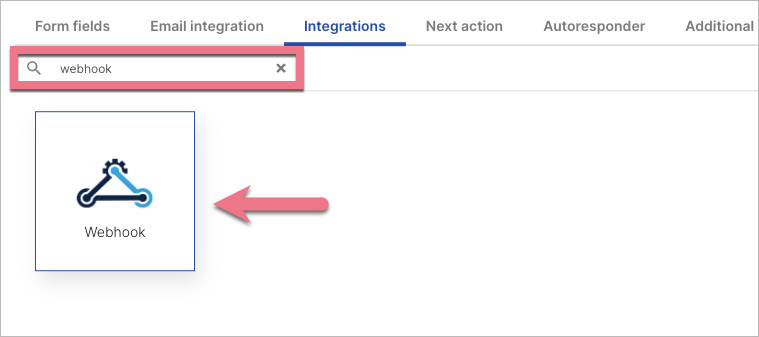
3. In the Integrations tab, choose Webhook. You can use the search bar to look for the integration. Type the name and press enter.

4. In the Request URL field, enter the URL to which the form data will be sent.

To add another URL, click the plus icon:

5. In the Request method field, select the way you want to send data from the form: you can choose the GET or POST method.

6. Connect the form fields with the fields on your server.

7. In the Request headers fields, set the request headers that will be sent each time the form is sent. Remember that each heading consists of two parts: key and value, e.g., API_KEY: 1234-abcd-5678, where the first field concerns key and the second value. To add headers, click +.

8. In the Request parameters fields, you can set additional parameters that will be sent together with the form. Similar to headers, it consists of two parts: key and value, which should be completed. For example, if we have a form with an email field and we set one parameter source:landingi, then each time someone sends this form, the query will send data to the API:
email: name@test.com (or what the user enters in the form)
source: Landingi
To add parameters, click +. The request parameters perform almost the same function as the hidden fields in the form, but their advantage is that they are invisible from the page code.
9. Save and close. Publish your landing page.
Check if the integration works correctly.
Browse all integrations in our Integrations Catalog to see tools you can connect Landingi with.