User.com is a tool designed to help your team to understand your customers. It provides a single workspace for marketing, sales, management, and support teams.
In this guide, you will learn how to send leads to User.com.
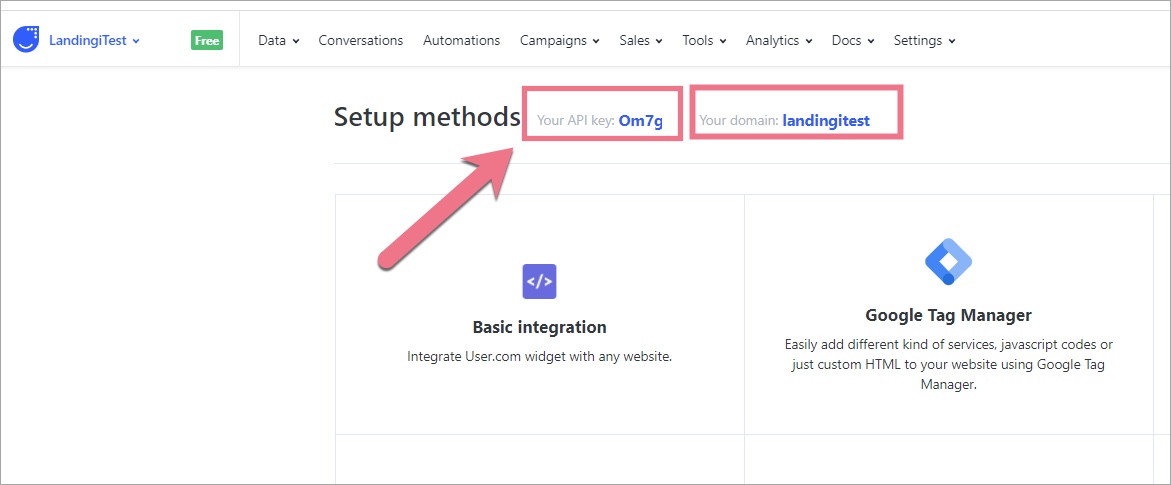
Get your API key from User.com
Log into your user.com account. Your API key and subdomain are at the very top. You’ll need them to customize the JavaScript snippet in Landingi.
Install custom JavaScript in Landingi
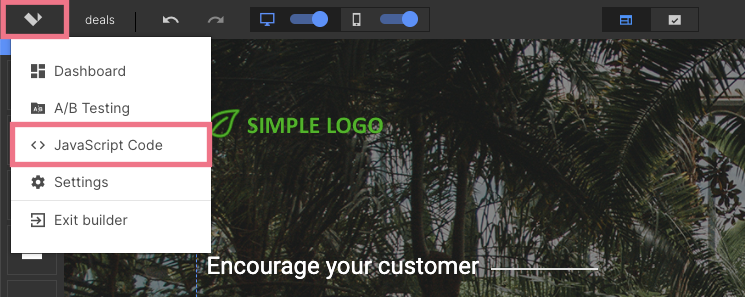
1. Log in to your account in Landingi and navigate to the Dashboard of your landing page. Go to JavaScript Code.
You can also access the JavaScript Code section directly from the editor of your landing page.
2. Click on Add script.
3. Now customize the following script.
Find PASTE_USER.COM_API_KEY and replace it with your API key.
Find PASTE_YOUR_SUBDOMAIN in the last line and replace it with your subdomain name. Copy the snippet.
<script data-cfasync="false">
    window.civchat = {
      apiKey: "PASTE_USER.COM_API_KEY",
      name: conversion.name,
      email: conversion.email,
      status: 2,
      score: 0
        };
  </script>
  <script data-cfasync="false" src="https://PASTE_YOUR_SUBDOMAIN.user.com/widget.js"></script>
Note: this code syncs name and email only. If you want to sync other form entries – contact our Support Team.
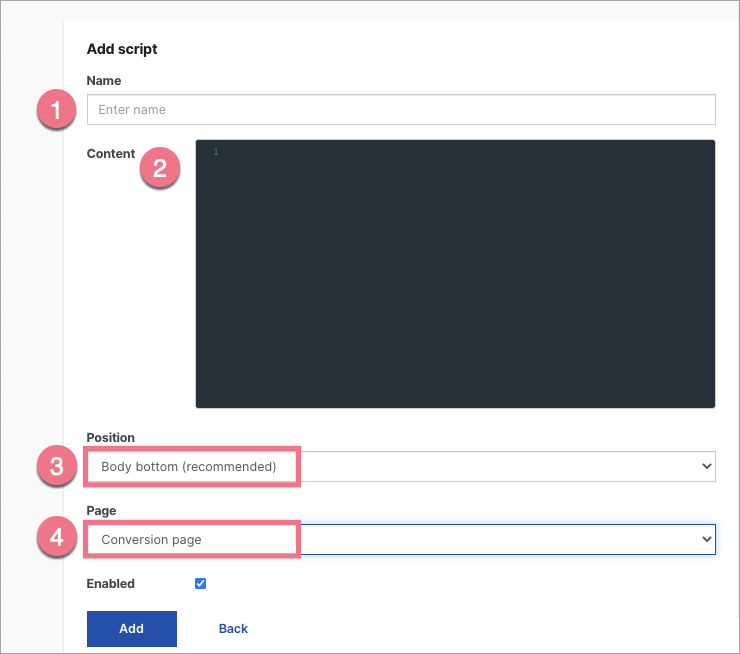
4. Go back to the JavaScript section. Type in a name (1), paste your custom code (2), select Body bottom (3), and Conversion page (4). Click Add.
5. Publish your landing page. Your form is now integrated with User.com.
Browse all integrations in our Integrations Catalog to see tools you can connect Landingi with.