Senja is a tool for collecting testimonials, case studies, social proof, etc., and sharing them on your pages. This guide will walk you through integrating Senja with Landingi so you can place a testimonial widget on your landing page.
NOTE: This integration uses the HTML widget which is not available with the Core plan.
Get your testimonial widget code from Senja
1. Log in to your Senja account.
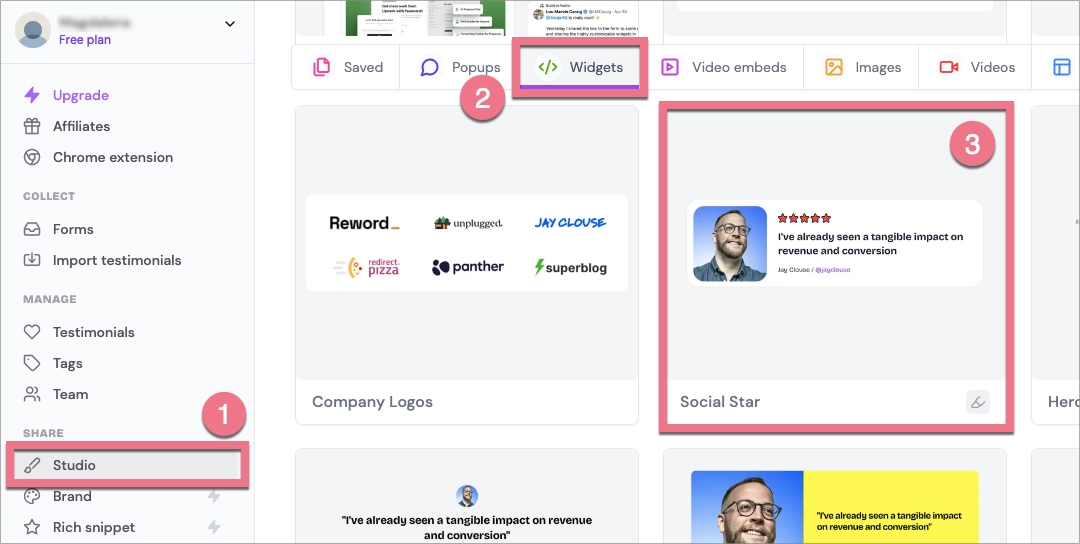
2. Go to the Studio (1) tab, and under Widgets (2), select the testimonial widget style you want to create (3) (you can change it later).
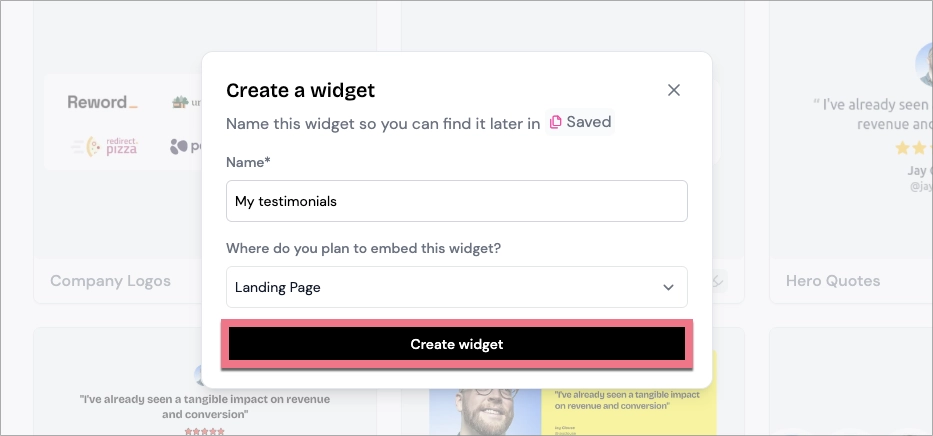
3. Name your widget, choose where do you plan to embed it, and click Create widget.
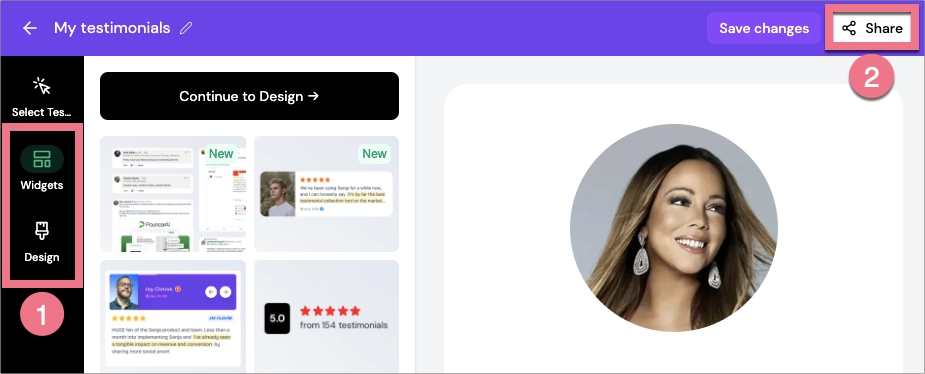
4. Adjust the widget’s rules, settings, and design (1). When you’re ready, click Share (2).
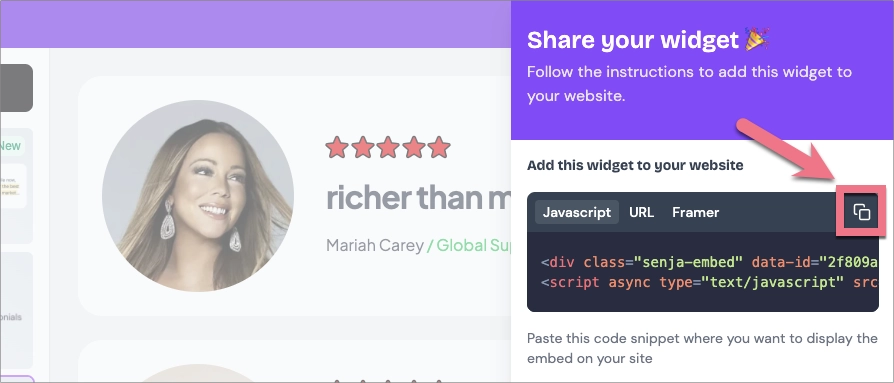
5. Click the Copy icon to copy the widget’s code.
Install the code in Landingi
1. Log in to your Landingi account and navigate to the editor of your landing page.
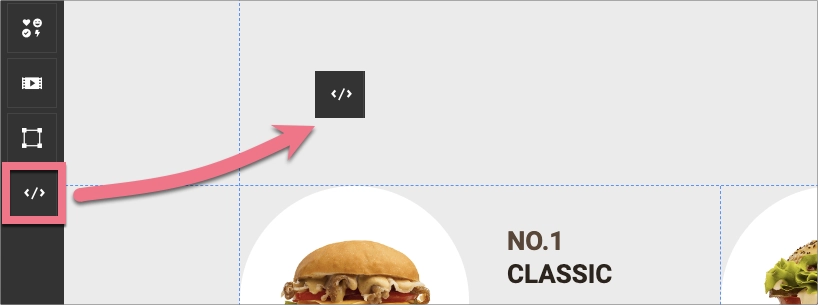
2. Find the HTML widget, then drag and drop it into the active area of the editor.
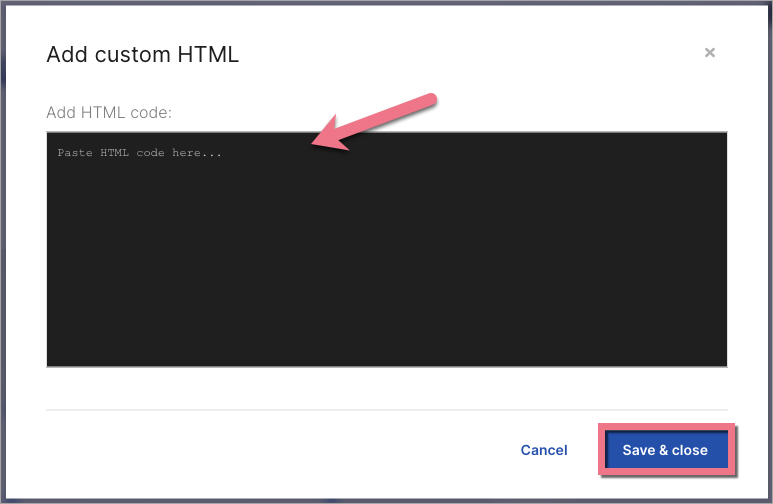
3. Double-click the HTML widget to edit it.
4. Paste the code from Senja in the Add HTML code field. Then Save & close.
5. Publish your landing page.
See if the Senja widget displays correctly. If needed, go back to the editor and adjust the HTML widget’s width and position.

NOTE: Keep in mind that Senja Apps is a third-party solution and is continually being developed. We do our best to keep this guide updated, but if you come across any changes in the set-up process, let us know.
Browse all integrations in our Integrations Catalog to see tools you can connect Landingi with.

