Conversion tracking is a free Google tool based on a conversion code that shows you what happens after a customer clicks on your ad and how they interact with your landing page. It can be purchases, sign-ups, or form submissions. Google Ads Conversion Code will help you to understand a specific customer activity that is valuable to your business. Read more about conversion tracking here.
This guide will show you how to add a Google Ads Conversion Code to your landing page and start tracking user activity. You need a Google Ads account to create a conversion code.
If you don’t have an account, create one, and in the first step select Get more website sales or leads.
Create a conversion action and get your tracking tags
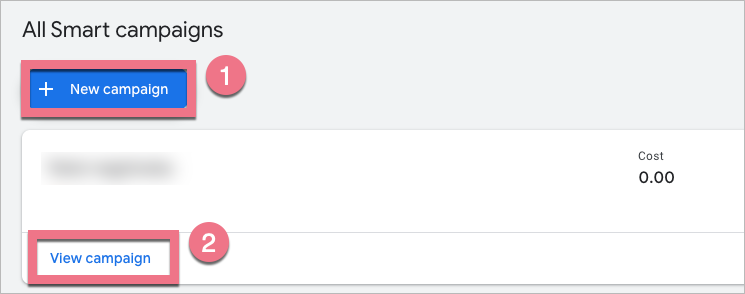
1. Log in to your Google Ads account, create a new campaign (1) or select an existing campaign and click on View campaign (2).
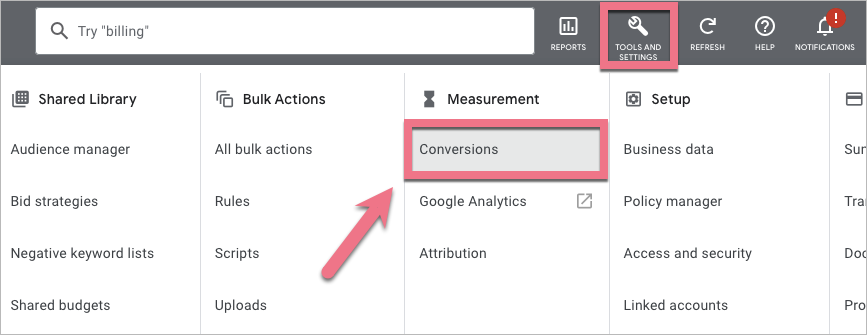
2. In the upper right corner, click the tools icon and click Conversions in the Measurement section. If you don’t see this section, click on Switch to Expert Mode.
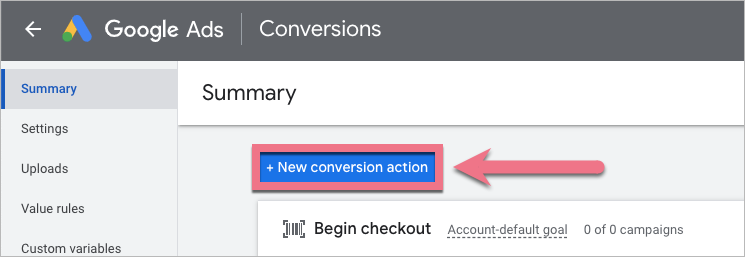
3. Add New conversion action.
4. Select Website.

5. Enter your domain and click Scan.

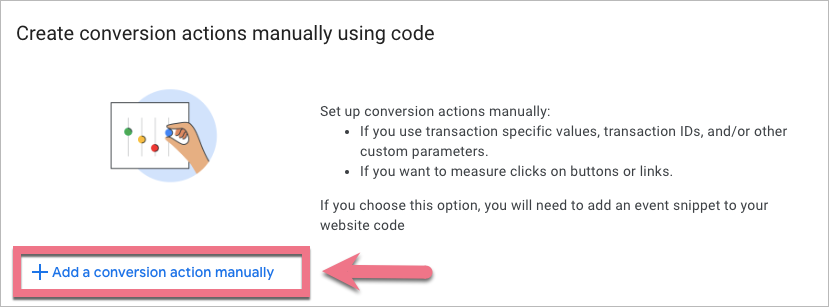
6. Scroll down and click Add a conversion action manually.
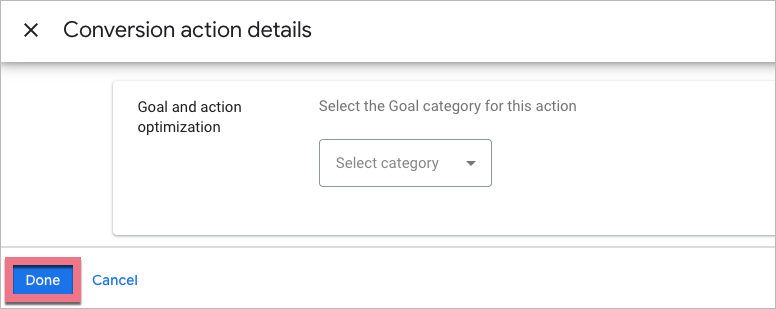
7. Set up the details and click Done. Then Save and continue.
8. Open a new tab and go to Landingi. Log in and go to the editor of your landing page. You have to install two JavaScript snippets – a global site tag and an event snippet.
You can select one of two event snippets:
- Page load allows you to track conversions when users visit the thank you page after purchase or sign-up.
- Click enables you to track conversions when users click on a button.
Install the Google tag
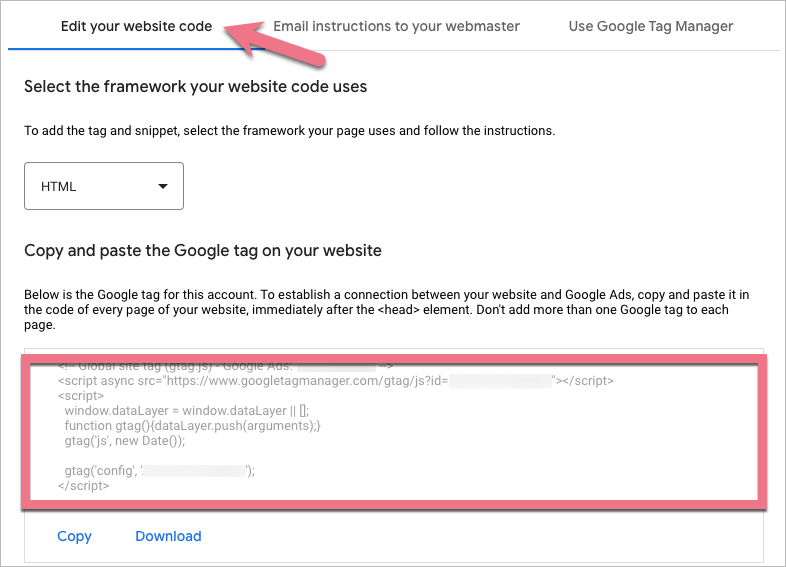
1. In the Google Ads setup, copy the HTML code from the Edit your website code tab.
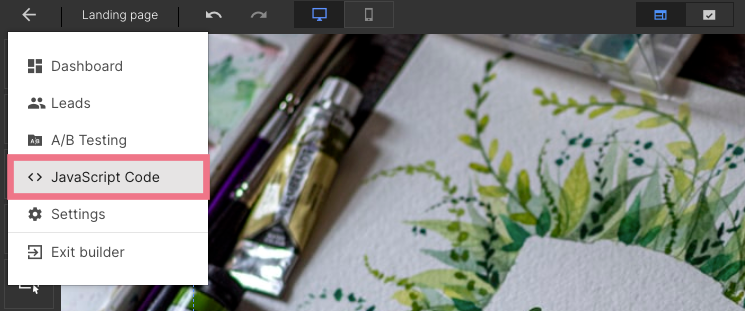
2. In Landingi, go to the JavaScript Code section.
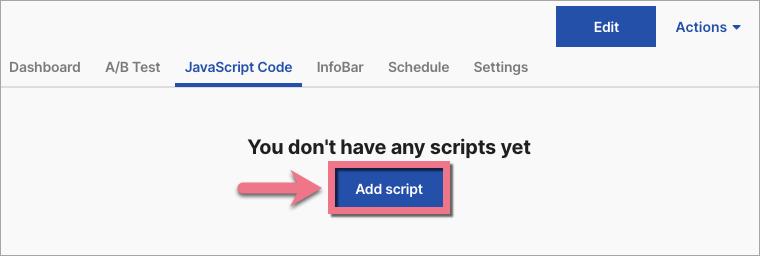
3. Click on Add script.
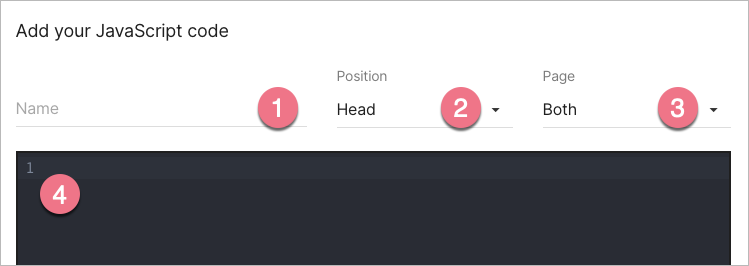
4. Type in a name (1) and select the Head (2) position on Both (3) pages. Paste your code in the Content (4) field. Click on Add script.
Install the event snippet – Page load
1. Go back to Google Ads. Scroll down to see your event snippet.

2. Select Page load and copy the snippet.
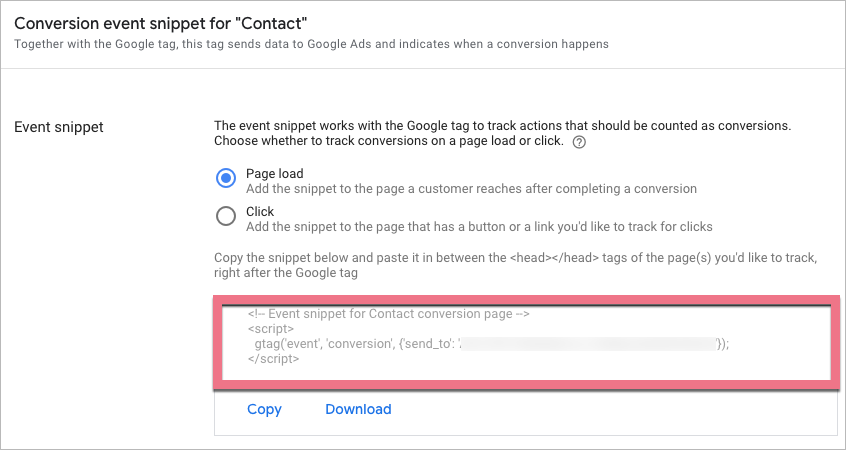
3. Go to Landingi and click Add script to install the second snippet.
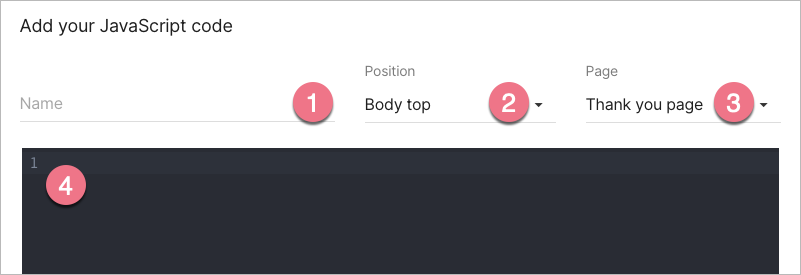
4. Type in a name (1) and select the Body top (2) position on the Thank you page (3). Paste your code in the Content (4) field. Click on Add script.
5. Go back to the Google Ads setup section and click Done. Now you can track conversions.
Install the event snippet – Click
1. Go back to Google Ads. Scroll down to see your event snippet.

2. Select Click and copy the snippet.
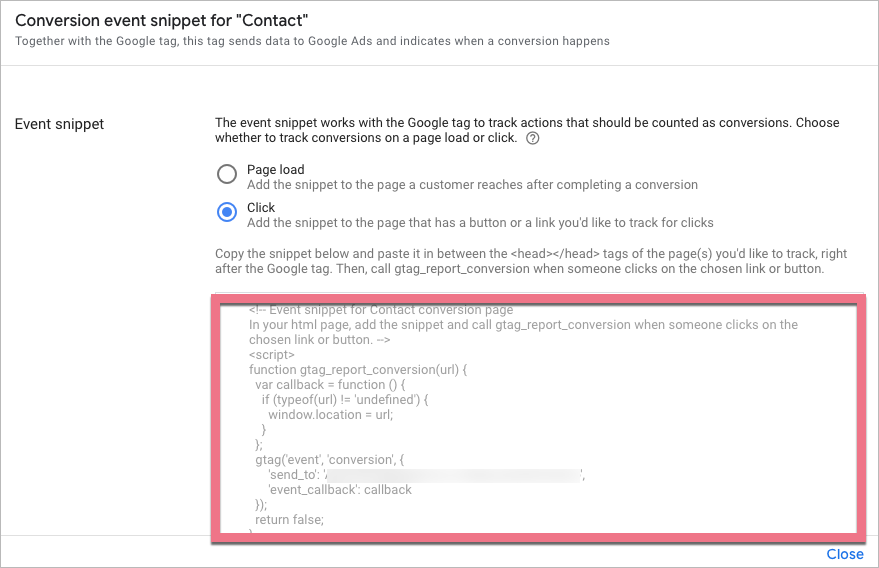
3. Go to Landingi and click on Add script to install the second snippet.
4. Type in a name (1) and select the Body top (2) position on the Main page (3). Paste your code in the Content (4) field. Click on Add script.
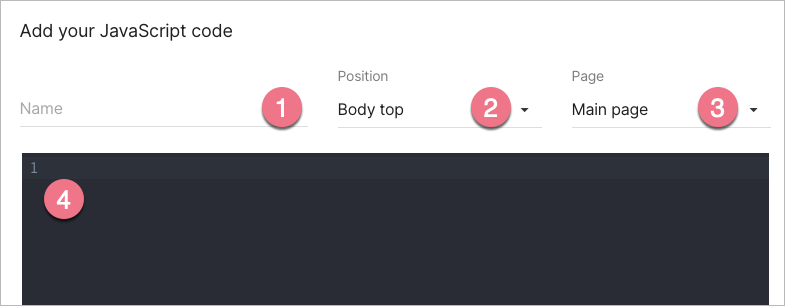
5. Go to the editor of your landing page. You have to tag the buttons you want to track.
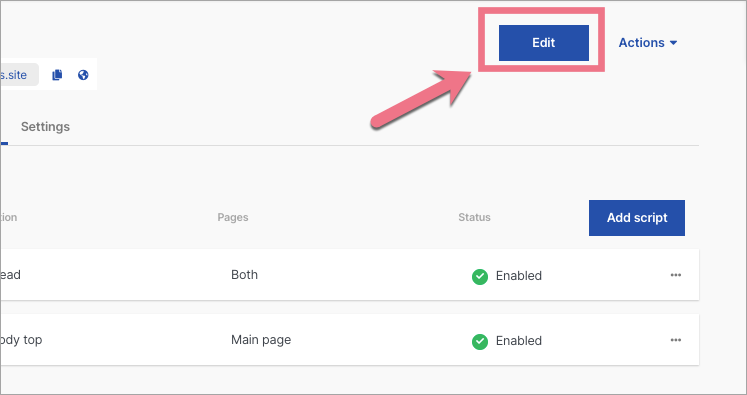
6. On the left side of the editor, find the Button widget then drag and drop into the active area of your landing page.

7. In the right-side toolbar, click Add onClick event.
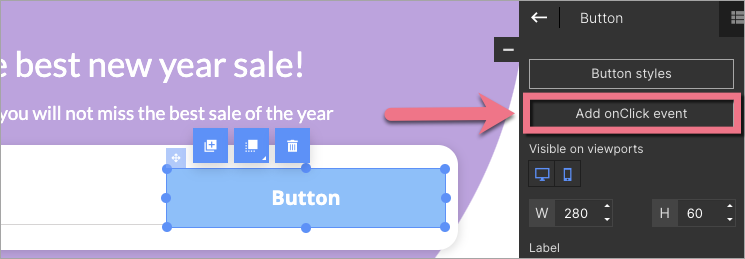
8. Customize the following snippet:
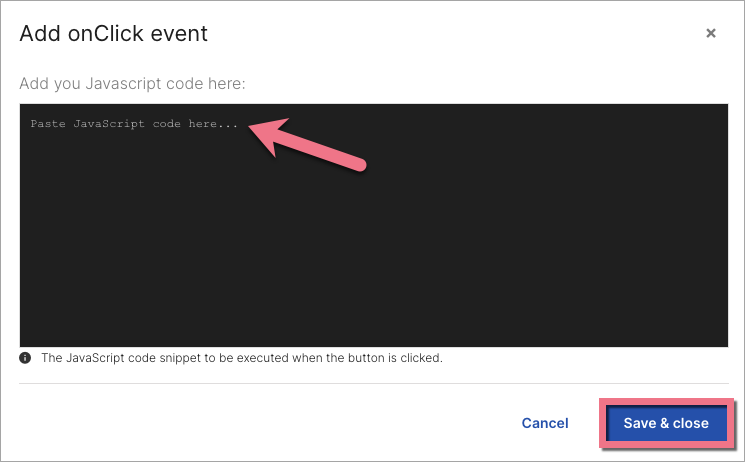
return gtag_report_conversion('http://example.com/your-link');Replace http://example.com/your-link with the destination URL.
9. Paste the custom snippet. Click Save & close.
10. Publish your landing page.
Go back to the Google Ads setup section, click on Next, and then click Done.
Conversion tracking status
You can check your conversion tracking status and manage conversion actions here or log into your Google Ads account and go to the Conversions section.
- If the tracking status is Unverified for less than 24 hours, you do not have to do anything – Google needs a few hours to verify the tag after the first conversion.
- If the tracking status is Unverified for more than 24 hours/Tag inactive – you should verify whether you have installed the correct tag and confirm that it is on the right page. Go here to find out more.

Browse all integrations in our Integrations Catalog to see tools you can connect Landingi with.
