Zendesk Suite offers a tool for real-time messaging. You can effectively communicate with customers looking for support. The platform allows you to create bots-based automation or review conversation history. You can integrate Zendesk Chat with your landing page using a JavaScript snippet.
Get your snippet from Zendesk
1. Log in to your Zendesk account and go to the Admin panel.

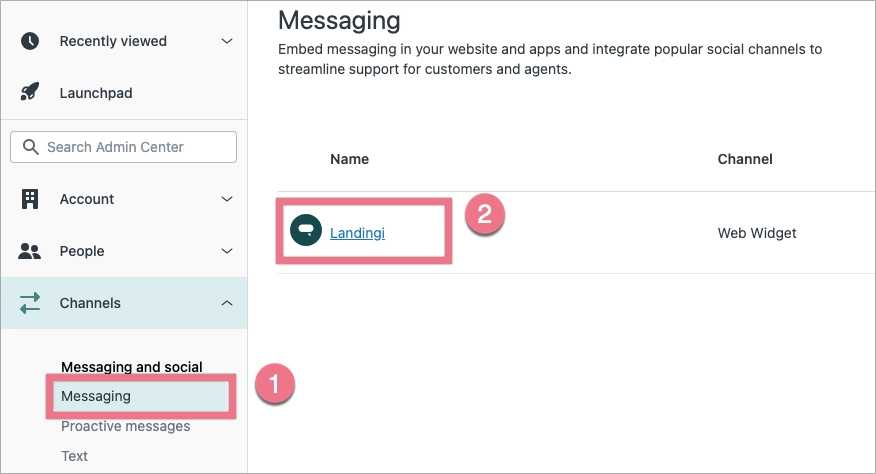
2. In the left-side menu, find the Channels section. Click on Messaging (1) and choose your widget (2).
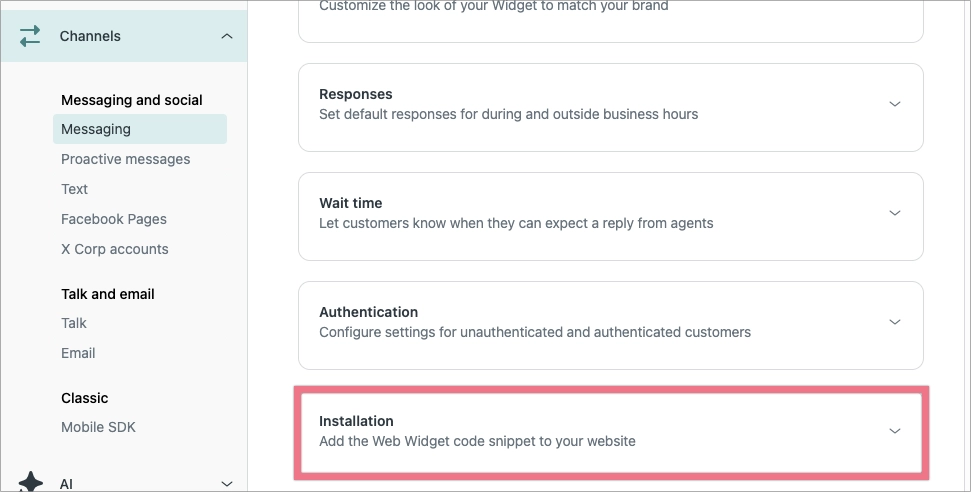
3. Scroll down and click on Installation.
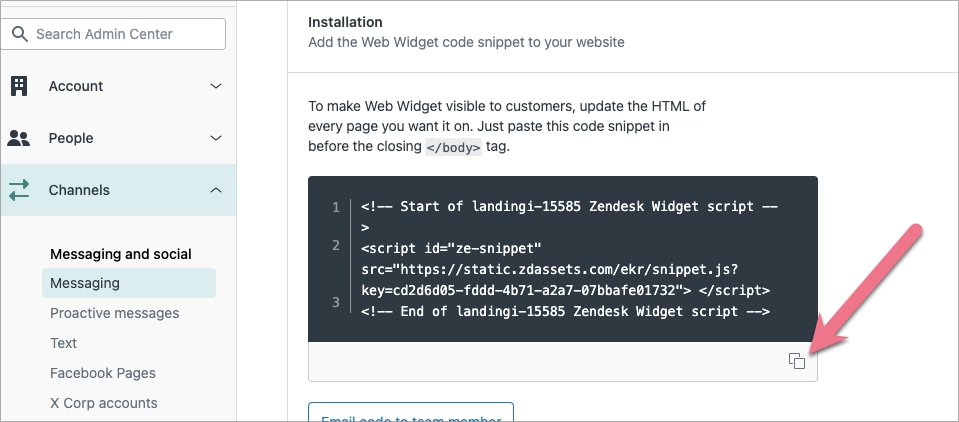
4. You will see a script. Copy it and go to Landingi.
Install the snippet in Landingi
1. Log in to your account in Landingi and navigate to the Dashboard of your landing page. Go to JavaScript Code.
You can also access the JavaScript Code section directly from the editor of your landing page.

2. Click on Add script.
3. Name (1) the script and choose the Head (2) position on the Main Page, Thank You Page, or Both (3). Paste your code in the content field (4). Save by clicking Add script.

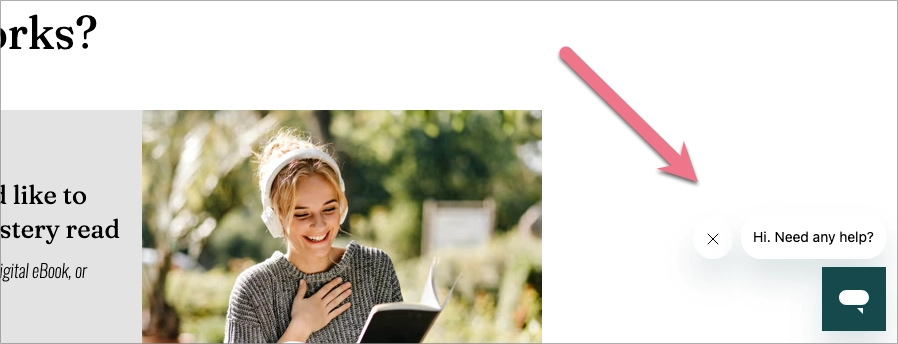
4. Publish your landing page. Your visitors will see the Zendesk widget in the bottom right or bottom left corner of your landing page.
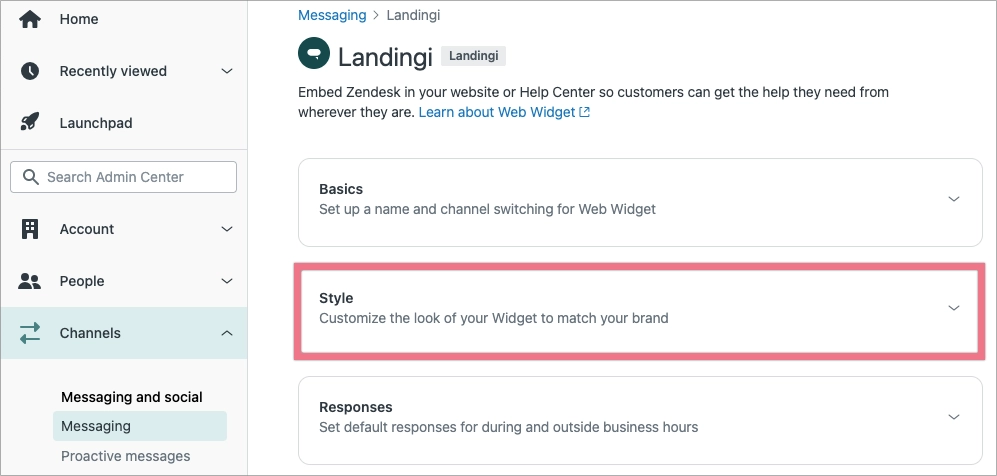
5. You can customize your widget at any time. Go to the Style section in your widget settings. You have to republish your landing page after each change.
Browse all integrations in our Integrations Catalog to see tools you can connect Landingi with.

