
A website is an absolute necessity in today’s digital age. It allows you to establish an online presence, showcase your products or services, and reach a wider audience. Building a website from scratch provides you with complete control over its design, functionality, and customization. This article discusses the step-by-step process of creating a website from scratch.
However, remember that although we call Landingi a landing page builder, you can also build another page (such as a one-pager) with us to serve your company and business.
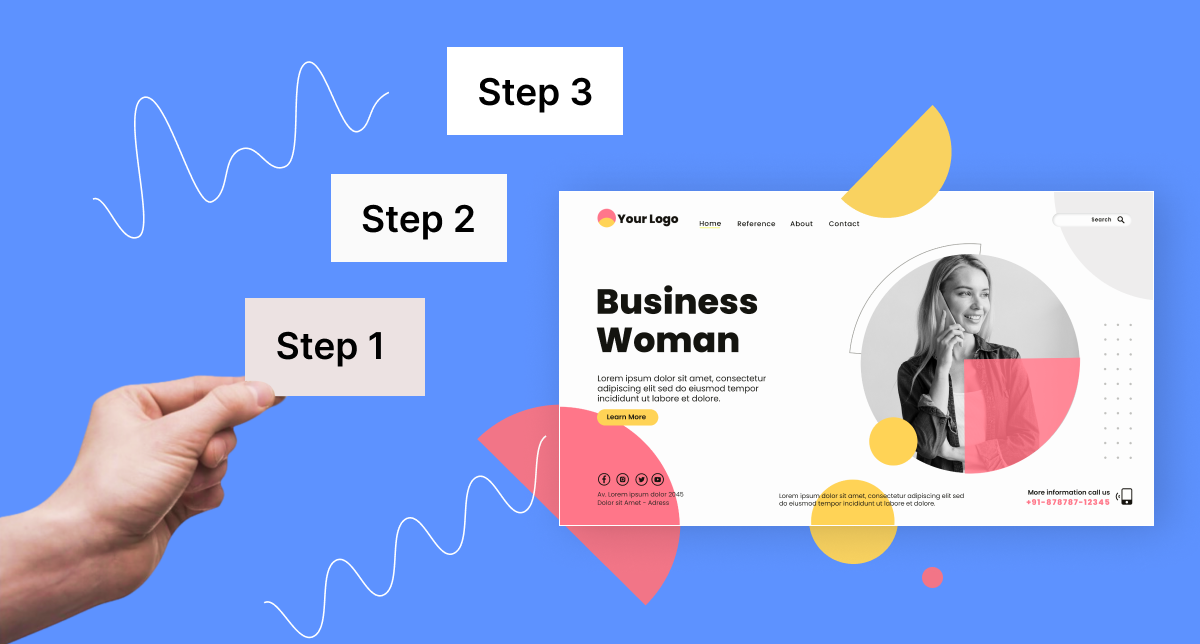
Let’s dive into those steps!
Make your sections smartable and let go of mundane manual tasks with Smart Sections! An easy way to manage bulk changes.
Step 1: Planning Your Website
Before you start building your website, it’s crucial to plan it effectively.
An AI writing tool like GrowthBar can assist you in this phase, producing well-crafted content based on your specifications.
Understanding your website’s goals will help you tailor your design and content accordingly. Conduct market research and analyze your competitors to identify opportunities and create a unique value proposition. You can use a video presentation maker to compile any info gathered during your market research to have a proper understanding of the opportunities and how your value proposition will compare with the one from your competitors.
Creating a sitemap and wireframes will give you a visual representation of your website’s structure and layout. A sitemap outlines the different pages and sections of your website, while wireframes provide a basic framework for each page’s design. Lastly, choose a domain name that reflects your brand and is easy for visitors to remember.
Get 111 Landing Page Examples—The Ultimate Guide for FREE
Step 2: Setting Up the Environment
To begin the website development process, you need to set up the necessary environment. Start by selecting a reliable web hosting provider that suits your needs. Consider factors such as server reliability, storage space, bandwidth, and customer support. Register a domain name that aligns with your brand and is available for use.
Keep in mind that as you scale, you might need a larger infrastructure to handle customer/visitor data. Using a colocation data center will allow you to solve this issue, as they are designed to offer high levels of reliability.
Next, set up a local development environment on your computer. This involves installing a local server environment like XAMPP or WAMP, which allows you to test and develop your website locally before making it live. Install any necessary software and tools like code editors and graphics software to aid in the development process.
Step 3: Designing Your Website
The design of your website plays a crucial role in attracting and engaging visitors. Decide whether you want to create a custom design or use a template-based approach. Custom designs provide complete freedom and uniqueness, while templates offer pre-designed layouts that can be customized to suit your needs.
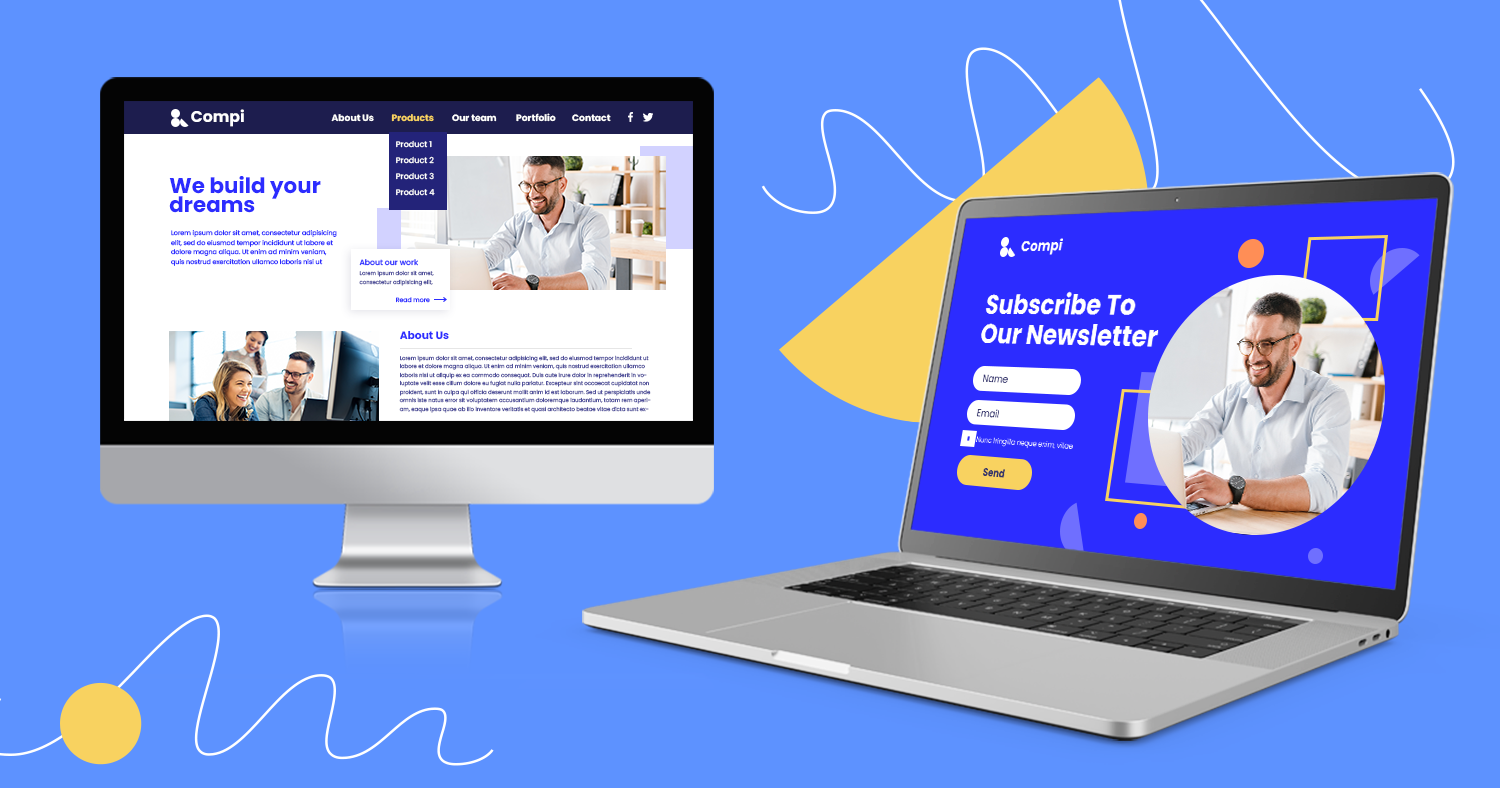
With Landingi, you can use one of 400+ templates to create a beautiful website, landing page, or one-pager in a matter of minutes!
Focus on the aesthetics, layout, and overall user experience (UX). Ensure that your website design is responsive and optimized for mobile devices, as an increasing number of users browse the web on smartphones and tablets.
You may take it a step further and guarantee ADA compliance by using a website accessibility checker. Incorporate your branding elements, such as colors, logos, and fonts, to maintain consistency with your overall brand image.
Step 4: Developing Your Website
Once you have the design ready, it’s time to start developing your website. Choose the appropriate technology stack based on your requirements. The front-end technologies like HTML, CSS, and JavaScript handle the visual and interactive elements, while the back-end technologies handle the server-side functionality and data management.
Begin by writing the HTML markup to structure your website’s content. Use CSS to style the website and give it a visually appealing look. Add interactivity to your website using JavaScript, such as form validation or dynamic content. Consider integrating third-party plugins and libraries to enhance your website’s functionality and save development time.
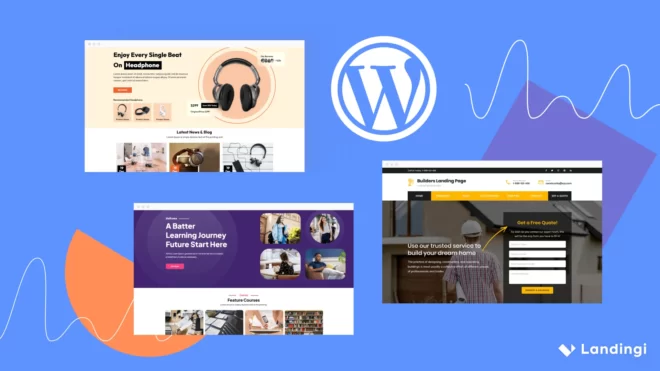
If you anticipate frequent content updates or need a more user-friendly interface to manage your website, consider implementing a content management system (CMS) like WordPress or Drupal. A CMS allows you to add, edit, and organize content without extensive coding knowledge. If you’re looking to have a large amount of customers at any point in the future, consider keeping your options open in terms of integration with crm software. These will allow you to use customer data to personalize experiences or increase sales efficiency.
Step 5: Content Creation
Compelling content is the backbone of any successful website.
Write effective headlines, informative text, and captivating captions to grab visitors’ attention and encourage them to explore further. To ensure the quality and accuracy of your content, you can utilize writing tools like Grammarly, which can help you identify and correct grammar, spelling, and punctuation errors, enhancing the overall readability and professionalism of your website’s content.
Incorporate multimedia elements like images, videos, and infographics to enhance the visual appeal and convey information more effectively. Optimize your content for search engines (SEO) by using relevant keywords, meta tags, and descriptive URLs. Additionally, ensure your website is accessible to all users, including those with disabilities, by following accessibility guidelines.
It is also a good option to have content that talks about your product use cases and help customers understand about them just like this brand SchoolLockers.com has done.
Step 6: Testing and Quality Assurance
Before launching your website, it’s essential to thoroughly test and ensure its quality. Conduct cross-browser compatibility testing to verify that your website displays and functions correctly across different web browsers and devices. Test all website functionalities and interactivity to identify and fix any bugs or issues.
Perform usability testing to gauge the user experience of your website. Obtain feedback from real users and make necessary improvements to enhance usability. Implement SEO audits to optimize your website for search engine visibility, ensuring proper indexing and ranking. Lastly, implement security measures to protect your website and users’ data from potential threats.
Step 7: Launching Your Website
Congratulations! Your website is ready to go live. Transfer the website files from your local development environment to the live server provided by your web hosting provider. Before launching, verify that all website functionalities work correctly and ensure optimal performance.
Register your website with search engines like Google to ensure it gets indexed and appears in search results. Announce the launch of your website through social media (for example via scheduling LinkedIn posts), email newsletters, or any other marketing channels you utilize. Make sure that your website’s thumbnail is set correctly. It you use Landingi to build your website, you can do this easily in social share options.
Also, set up website and product analytics to track visitor data, behavior, and other key metrics. This information will help you understand your audience better and make data-driven decisions.
Conclusion
Building a website from scratch may seem challenging at first, but by following these step-by-step guidelines, you can create a professional and engaging online presence. Remember to plan carefully, focus on design and content, and test thoroughly before launching. Regularly maintain and update your website to keep it fresh and relevant. Embrace the opportunities a website brings and enjoy connecting with your audience online.
There is also a simpler and faster solution: choose one of the page builders, like Landingi, to create a site without any coding knowledge.