Product
BUILD
NEW

AI-generated pages, built to evolve

Build pages with total design control

Elevate copy, SEO, and visuals

Launch faster with flexible templates

Engage with forms to capture data

OPTIMIZE
NEW

AI insights for page performance

Compare variants and lift results

Track clicks and uncover intent

Sync sections across every page

Expand pages into new markets

SCALE
SOON

MCP power for AI workflows

Scale pages from one smart layout

Use a reliable and secure platform

Manage large accounts and campaigns

Connect pages to your campaign flow

Solutions

Capture more leads with less friction

Turn more visits into conversions

Get more return from paid traffic

Scale page operations with control

Strengthen your presence across channels

Match content to visitor intent

Launch pages tailored to your brand

Turn shopping traffic into more sales

Resources

Practical advice for marketers

Guides, setup, and how-tos

Free tools and learning for marketers

See how teams improve results

Explore the platform with our team

Get expert help with page design

HomeHelp CenterIntegrationsAnimoto integration

Animoto integration

Animoto is a cloud-based video creation platform. You can use it to create videos from video content and from photos. In this guide, you will learn how to embed video from Animoto on your landing page in Landingi.

NOTE: This integration uses the HTML widget which is not available with the Core plan.

Get your code from Animoto

1. Log in to your Animoto account.

2a. If you do not have any videos yet, create a new one and click Share at the last step of editing.

2b. Select Embed.

3. If you already have a video, go to the My account menu, select My videos, and hover over the video. Click Share.

4. In the Embed tab, you can choose the size, resolution, and volume for your video, as well as autostart and loop options (1)

Once you’ve made your selections, copy the code (2).

Install the code in Landingi

1. Log in to your Landingi account and navigate to the editor of the landing page.

2. Find the HTML widget, then drag and drop it into the active area of the editor.

3. Double-click the HTML widget to edit it.

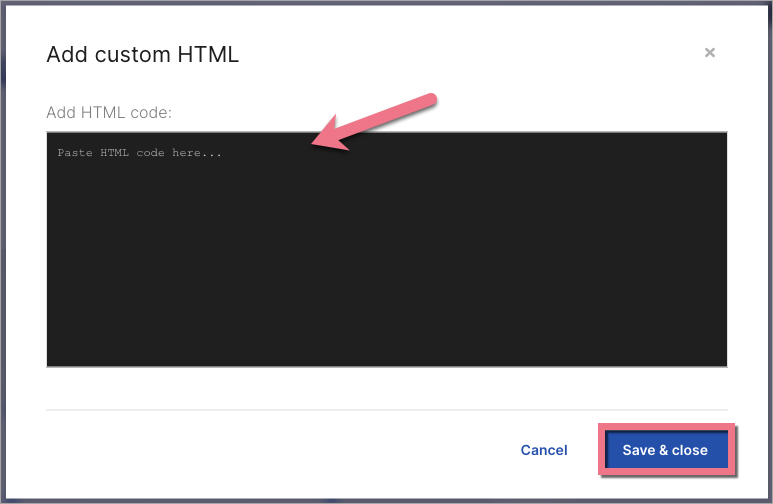
4. Paste the code from Animoto in the Add HTML code field. Then Save & close.

5. Publish your landing page.

See if your video displays correctly. If needed, go back to the editor and adjust the HTML widget’s position.

NOTE: Keep in mind that Animoto is a third-party solution and is continually being developed. We do our best to keep this guide updated, but if you come across any changes in the set-up process, let us know.

Browse all integrations in our Integrations Catalog to see tools you can connect Landingi with.

TABLE OF CONTENT
G2 reviews for Landingi