Landingi’s landing page builder provides various customization options to ensure your page aligns with your branding. This guide will explain how to personalize different elements, making it quicker and easier for you to create a landing page that effectively represents your brand.
In Landingi, you can use the following elements to create pages that match your branding:
- favorite colors
- custom fonts
- image gallery
- Smart Sections
- copying and duplicating
- custom domains
Favorite colors
You can add any color to your palette of favorites, making it easier to use it across all landing pages on your account. Favorite colors can be used on all projects in your account or subaccount, not limited to one landing page.
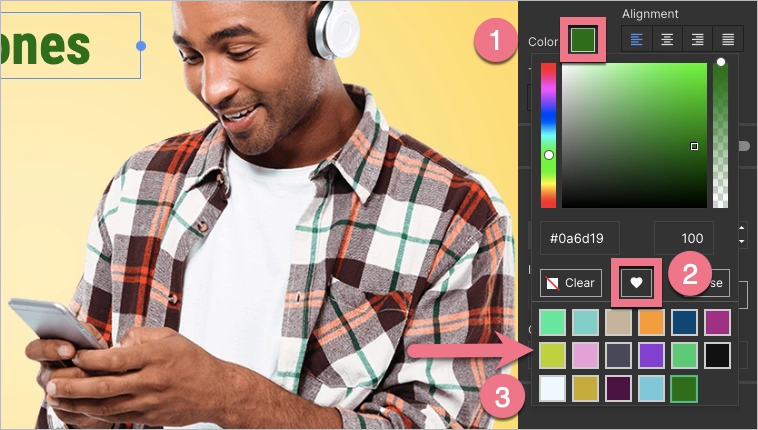
To add a color to your favorites, enter the right-side panel of any widget that can have its color changed (text, button, shape, icon, form background, or section background). Then click on Color (1), choose your color, and click Add to Favorites (2). Your chosen color will appear underneath (3). To use it, simply click on it.
Custom fonts
You can add Google fonts or your custom fonts to use in the editor on your Landingi account. Fonts can be added within the platform or directly in the editor.
Learn more about additional fonts.
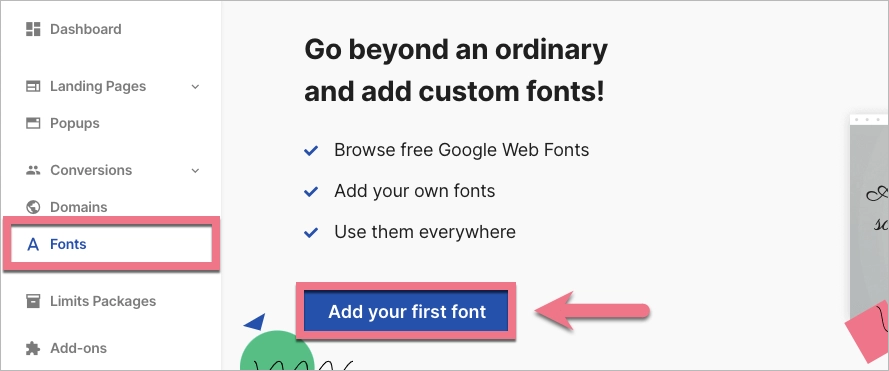
1. To add a new font within the platform, go to the Fonts tab. Click on Add your first font or Add font. Then upload Google Web Font or Custom font.
2. To add new fonts when editing, click on a text widget (1), and in the right-side toolbar, find the Font family field and click the plus icon (2) next to it. Then upload Google Web Font or Custom font.
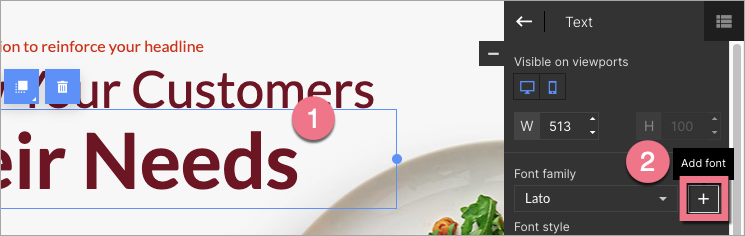
Image gallery
If you use the Agency or Unlimited plan, you can create galleries with images that will be available for use on your landing pages and by your subaccounts.
Learn more about creating agency galleries.
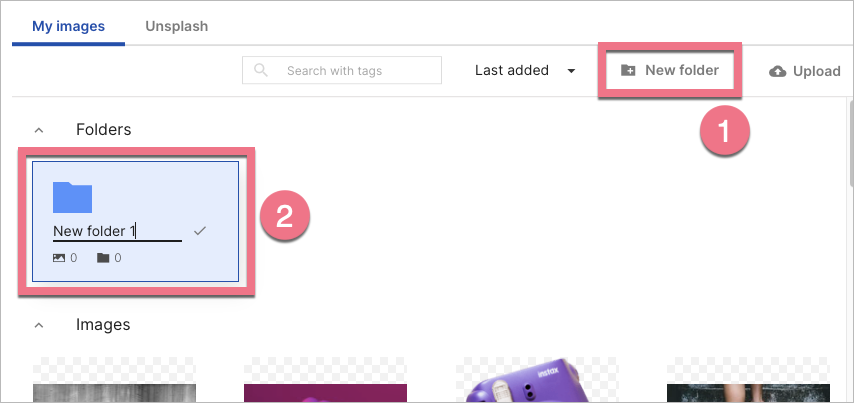
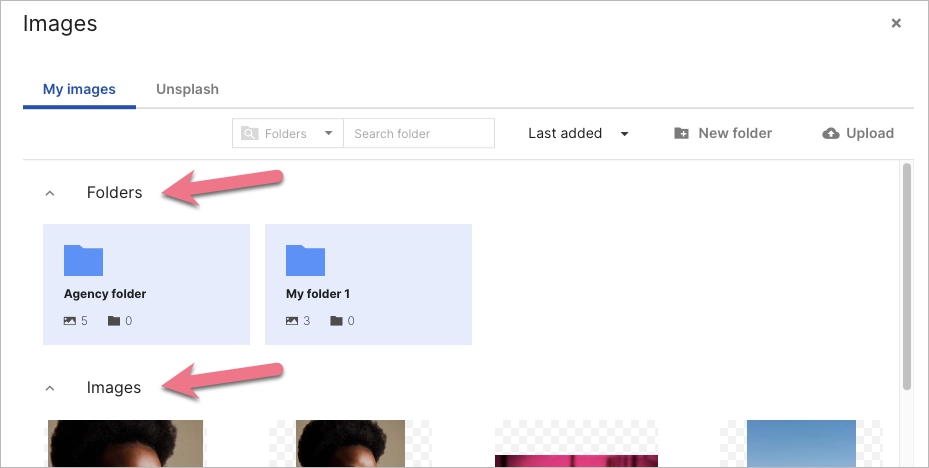
1. In the Image widget, add your images and organize them in folders. Click New folder (1) to create a new one, then name it and save (2).
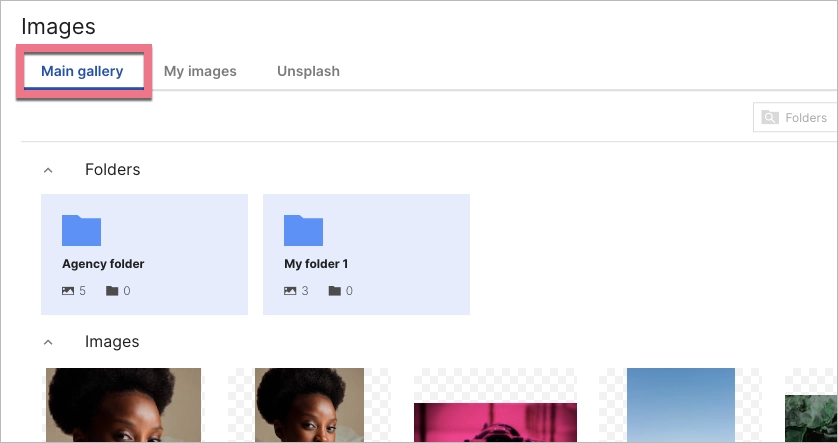
2. Both Images and Folders from your My images gallery will be automatically available for subaccounts in their Main gallery tab.
Owner of an Agency/Unlimited account:
Subaccounts:
Smart Sections
A Smart Section can be added to multiple landing pages and is edited within a dedicated editor, ensuring that any changes published are automatically updated across all landing pages containing that section.
This allows you to easily add the same menu, footer, or “about us” section to any landing page with just a few clicks. You can edit it once to update it across all landing pages with that section.
Learn how to work with Smart Sections.
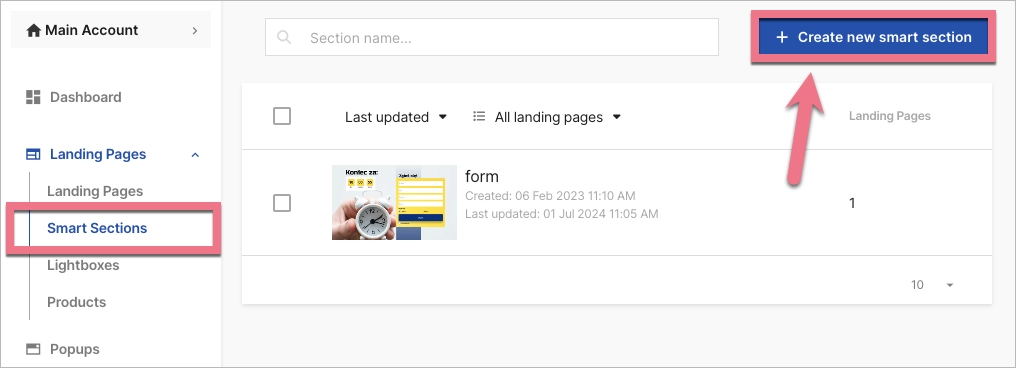
You can create Smart Sections in two ways:
- save a regular section as a Smart Section;
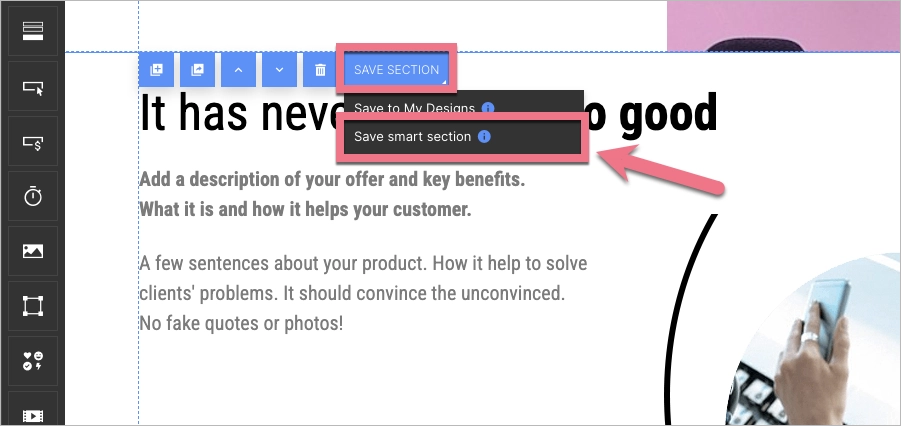
- or create a new Smart Section from scratch using a dedicated tab.
You can also create your own section templates.
Examples of Smart Sections
Header with the same logo on multiple landing pages. If your branding changes, you can easily update the image or colors across all landing pages where this Smart Section is placed.


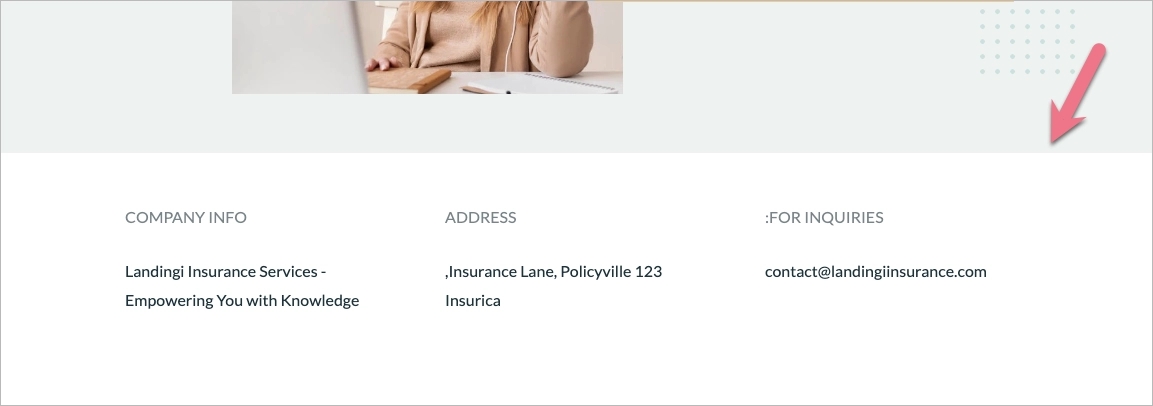
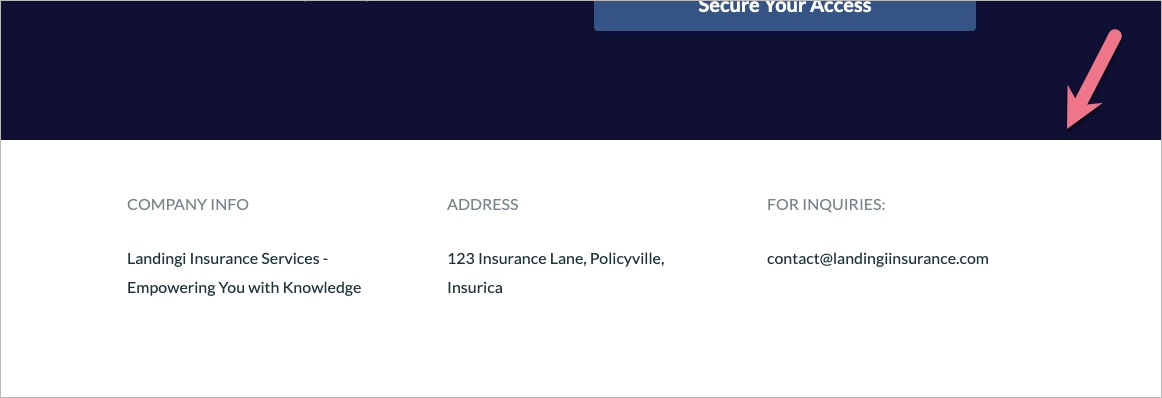
Footer containing contact information. When necessary, you can quickly update the address and phone number on all landing pages where this Smart Section is placed.
Copying and duplicating
When you create an element that represents your branding and want to use it across different pages, sections, or pop-ups, you can easily copy and paste it into any other project.
Learn how to copy and paste an element/section to another editor.
You can also duplicate an entire landing page, and the duplicated page can be freely edited.
Custom domains
Once the landing page is published for the first time, it is automatically assigned to our test domain.
However, the test domain may not convey a professional look and can lead to various issues such as difficulty in launching Google Ads and Facebook ad campaigns, problems with page indexation, and potential blocking of the site by certain firewalls. Therefore, once you have finished editing, we highly recommend assigning the landing page to your own domain that represents your brand.

