Owners of the main account on the Scale and Enterprise plans can use agency settings to customize selected branding options, configure the sender address for notifications and autoresponder messages, and access API documentation for automatic subaccount management.
In this article, you will find a brief description of the Agency Hub tab.
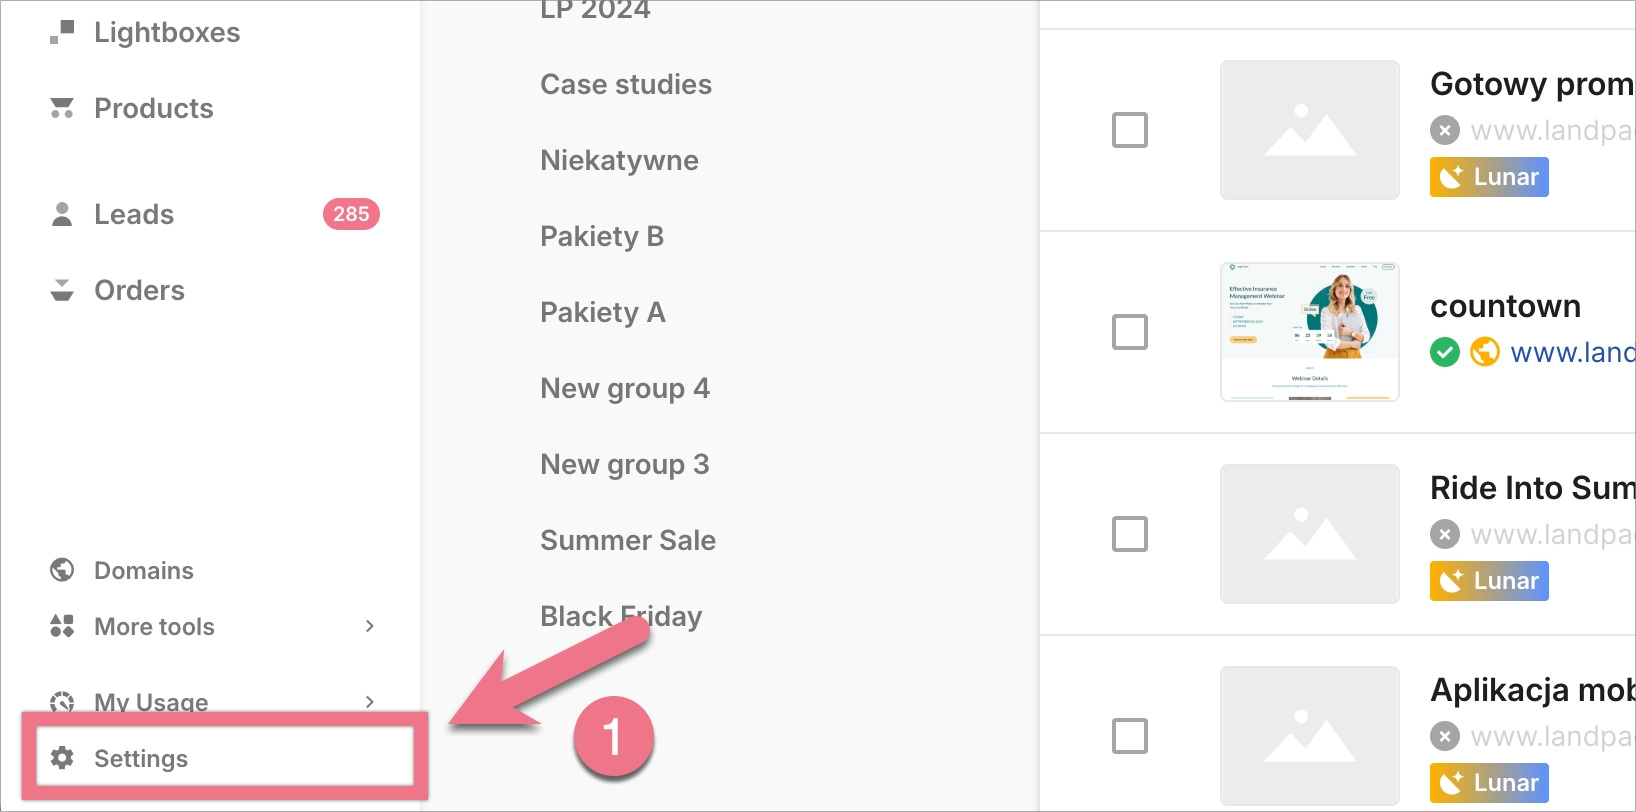
Log in to the platform, go to Settings (1) in the lower-left corner, and find the Agency Hub section (2).
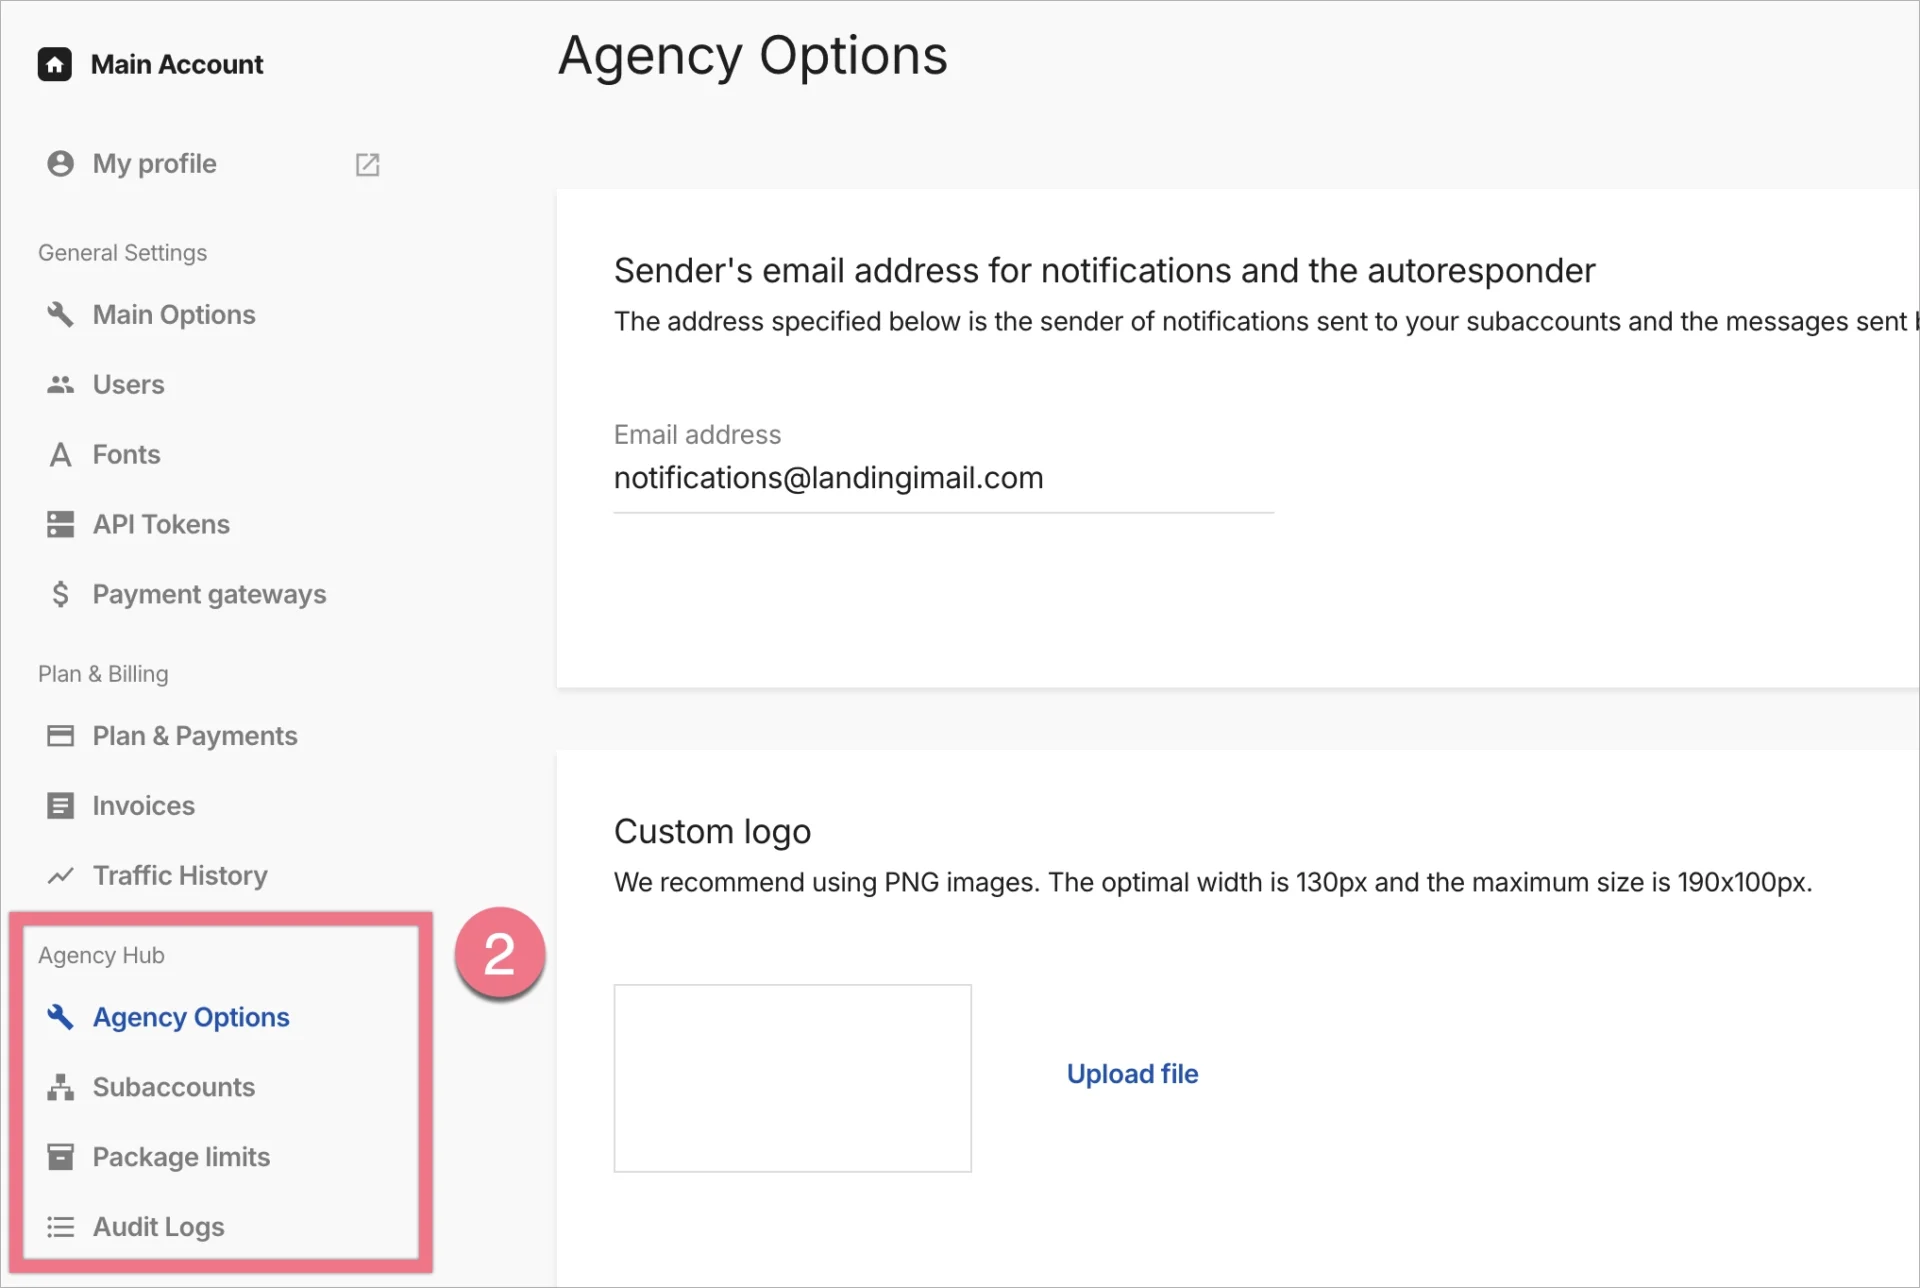
Sender’s email address for notifications and the autoresponder
Notifications are emails sent to subaccounts with information about new leads generated by a given subaccount or about a new subdomain added to the subaccount.
Autoresponder emails are messages sent to users who have filled out a form on your landing page.
You can add an email address that will appear as the sender of notification and autoresponder messages. Contact our support to configure the settings.
Custom logo
Uploading your own logo allows you to personalize the platform for your customers; this way, they won’t see Landingi branding but your company.
The maximum image size is 190×100 px. We recommend uploading the file in the PNG format.
API Documentation
API documentation is an advanced feature that allows you to communicate with the Landingi platform through the programming interface. You can use API to add, edit, or delete subaccounts automatically.
Custom default (test) domain for landing pages
When a landing page is published for the first time, it is available under a Landingi test domain with a path. With agency settings, you can personalize the default test domain and use your own domain for test landing pages.
Share your credits
The Share your credits option lets subaccounts use credits from the main account.
When this option is enabled, subaccounts can access features that use credits, such as AI features and translation. This allows you to manage credits from one main account and make them available to selected subaccounts.
Use this option if you want your clients, teams, or coworkers working in subaccounts to use AI-powered tools or translation without managing credits separately.

