Programmatic landing pages are dynamically generated pages tailored to specific audiences, offers, or search queries you define in a CVS file. Instead of manually creating individual pages, you can automate the process using data inputs, allowing you to create thousands of personalized pages efficiently. This approach is perfect for companies that manage a wide range of products, services, or locations.
With Landingi, you can set up programmatic landing pages to save time while maximizing the effectiveness of your marketing campaigns.
Why Use Programmatic Landing Pages?
- Scalability: Create multiple landing pages automatically based on a predefined template and data, making it easier to target different segments or locations.
- Personalization: Tailor each page to suit the specific audience’s needs, leading to higher engagement and conversions.
- SEO Benefits: By creating unique, data-driven pages for different keywords, you can increase your organic search visibility.
- Efficiency: Instead of manually building pages one by one, programmatic pages allow you to automate the creation of landing pages at scale.
How to Set Up Programmatic Landing Pages in Landingi
Generating a batch of programmatic pages involves three steps: creating a template landing page, preparing a CSV file, and generating the pages.
Creating a template landing page
1. Build a page in the Builder
Start by building a template landing page that will serve as the foundation for your programmatic pages. Ensure it’s flexible enough to accommodate different data points like location, service type, or product features.
2. Define data inputs in the template
You define the variables depending on the element: by inserting brackets {name} or copying the UID. In your template, insert dynamic fields where the data from your CSV file will populate. For example, use dynamic fields for things like {city}, {product}, or {service}. In the case of the UID variables, you’ll copy the ID and paste it into your CSV file. You can add URLs of images already uploaded to Landingi.
Here are the available widgets and how they can be used with data inputs:
- Publication domain and page name: these are set in the CSV file. To automatically publish pages to subdomains, you need to add the root domain to Landingi.
Setup method: {} in a text field. - Text Widget: content and redirect URL.
- Button Widget: label and redirect URL.
- SEO settings: title, description, and keywords.
- Form: all labels and fields, excluding the autoresponder.
Setup method: element’s ID. - Images: images, including the box widget and background.
- Images for specific viewports: You can set different file images (using URLs) that will be displayed depending on the device the user is accessing your page from. This includes only the page and section background and the image within the box widget.
- Counter widget: the date the widget will count down to. The correct formats are DD/MM/YYYY HH:MM and DD-MM-YYYY HH:MM. Set the date using the UID.
3. Preview and publish the template landing page
Preview the pages to ensure everything is correct once your data is set up and your dynamic fields are configured. If everything looks good, you can publish it.
Preparing a CSV file
1. In the first row, specify the variables. Please copy the name and domain inputs exactly as shown in the table: lpName and lpDomain.
| lpName | lpDomain | {city} | {seotitle} | 123456zxcvb | 7890mnbvc |
2. In the following rows, include the data of each landing page you want to generate:
| lpName | lpDomain | {city} | {seotitle} | 123456zxcvb (background’s ID) | 7890mnbvc (counters ID) |
| Vienna city break | https://vienna.visit.com | Vienna | Discover Vienna | https://myimage1.com | 30-11-2024 09:00 |
| London long weekend | https://london.visit.com | London | Get to know London | https://myimage2.com | 31-12-2024 09:00 |
3. If you want to display different images depending on the viewport, copy the image ID and set variables for selected viewports. Separate individual viewport settings with a vertical line: “|”.
This includes only the page and section background and the image within the box widget.
| lpName | lpDomain | 123456zxcvb |
| Vienna city break | https://vienna.visit.com | [mobile]https://myimage3.com|[desktop]https://myimage4.com|[tablet]https://myimage4.com |
| London long weekend | https://london.visit.com | [mobile]https://myimage5.com|[desktop]https://myimage6.com |
4. Save your file in the CSV format.
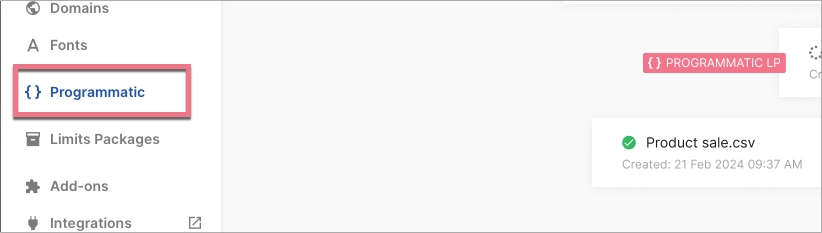
Generating programmatic pages
Go to the Programmatic tab, select Create a batch. Choose the template landing page and upload the CSV file. You can assign the pages from a given batch to a group. After the process is complete, your pages will be automatically published.
Sample CSV file
Below you can download an example file in CSV format and an overview pdf file.
Need help?
If you need any help with preparing the template page or the CSV file, feel free to get in touch with our Support Team using the chat in the platform or by writing to us at support@landingi.com.