In this guide, you will learn about all the features of the Landingi platform so that you can fully enjoy its potential and navigate it smoothly.
Available features depend on the selected plan. See the pricing and compare our plans here.
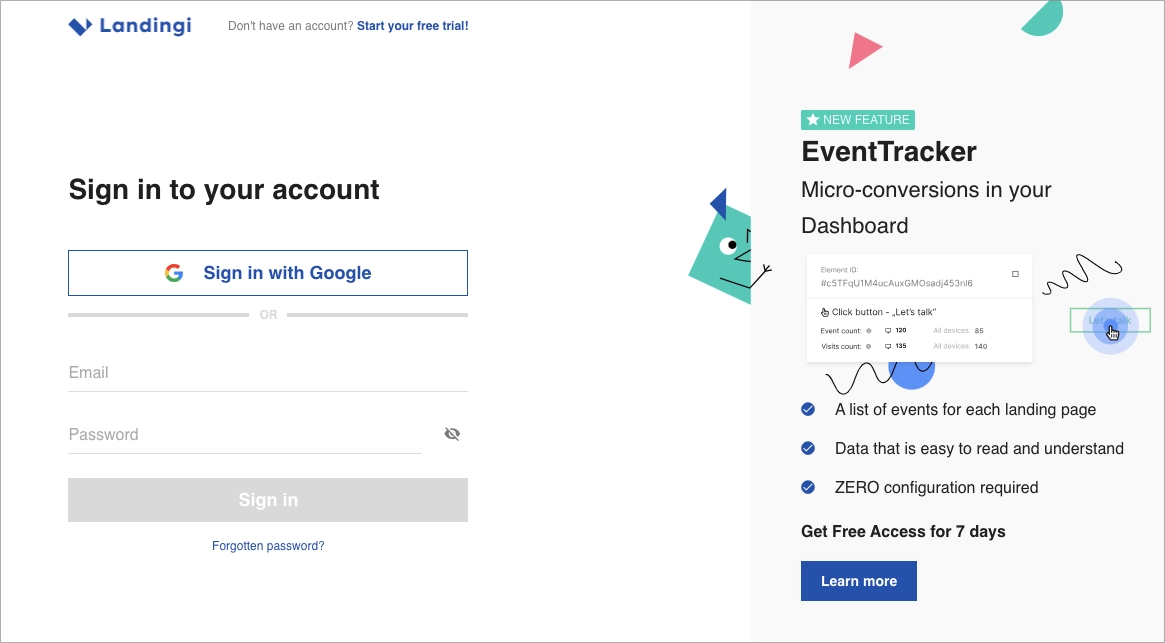
To access the Landingi platform, log in to your account:

For a good start, you can try Landingi for free – during our 14-day free trial, tooltips will lead you through all the details, tabs, and features in the Landingi platform.
Moreover, you can schedule a free demo with our support expert and take a quick tour throughout Landingi.
Topbar
At the very top of the Landingi platform, you will see a top bar.

There are five tabs:
- My Usage – see your limits, extend them, or upgrade to a higher plan.
- Hire an expert – Landingi services can help you prepare a comprehensive marketing campaign. Find out more here.
- Help – find answers to your questions or contact us.
- Product Updates – find the latest updates such as recently introduced features.
- Settings – drop-down menu with access to your profile and account settings.
The number of tabs and access to features in the drop-down menu may depend on your plan. As an agency customer, you have access to all the features described in this guide and some additional, dedicated to agency accounts. To learn more, go here.

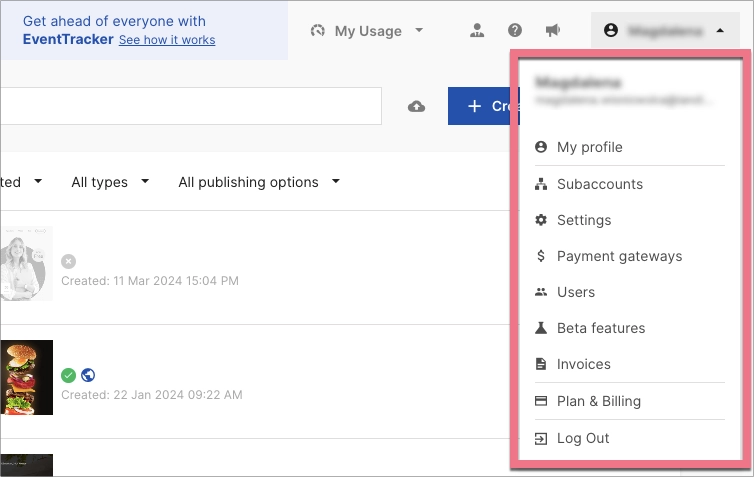
In the drop-down menu, you will find the following tabs:
- My Profile – change your email address, password, platform language, and login methods.
- Subaccounts – create subaccounts and manage them.
- Settings – change the default language of error messages in the form, set the time zone, and reCAPTCHA v3, add a JavaSript code for all landing pages, download your leads, set up GTM integration, set up sending events to Google Analytics 4, sign the DPA if required, delete the account.
- Payment gateways – manage your payment gateways (PayPal, Stripe, PayU).
- Users – manage users: add new users, grant permissions, and delete them.
- Beta Features – test the latest features in the platform and see what’s best for you. You can turn them on or off at any time.
- Invoices – see the invoices that have already been paid and your invoicing details.
- Plan & Billing – pay for Landingi services, change the billing period, fill in your data, change the currency, switch plans, cancel your subscription.
- Log Out – log out of the platform.
In your settings, depending on your plan, you may have access to some extra features:
- Audit Log – monitor the activity of users and administrators in the account.
- API Tokens – generate API tokens and check the list of previously added ones. You can copy or delete them. To generate an API token, click on the Add Token button. Remember that APIs can be used for connecting with selected integrations only.
- Agency Settings – manage your agency settings: sender’s email address for notifications and the autoresponder, API documentation, and others.
Sidebar
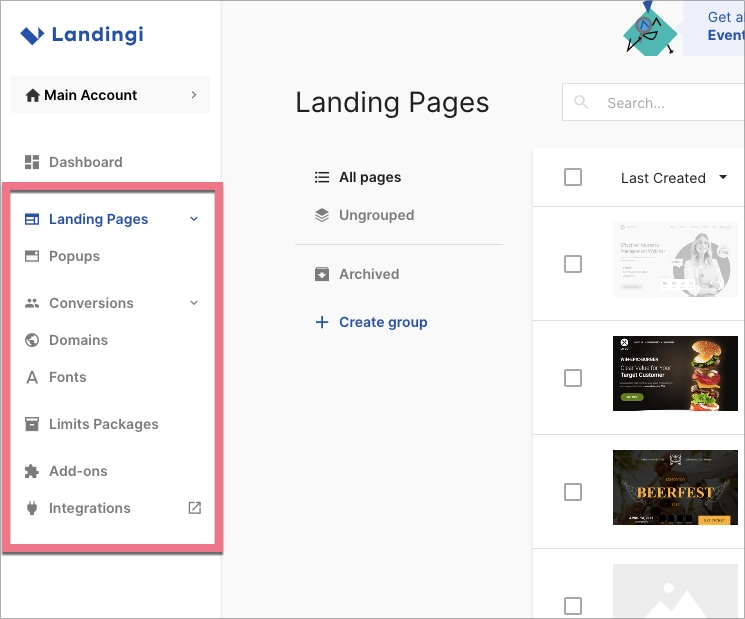
From the side panel, you can access the most important resources of our platform:

- Landing Pages:
- Landing Pages – see the list of all your landing pages, create new ones, and manage them. You can choose which landing pages will be displayed (published, unpublished, or all) and how to sort them. Hover over a landing page on a list to edit it, enter its Dashboard (and JavaScript codes), see the leads, or navigate to some more settings, e.g. A/B tests or landing page download.
- Smart Sections – list of all your smart sections. See on which landing pages your smart sections are and create new ones.
- Lightboxes – see the list of all lightboxes. To create a new lightbox, click on the Create new lightbox button. Hover over a lightbox on a list, to edit it or navigate to some more options.
- Products – add products or services that you can sell directly from your landing pages. Hover over a product on a list to edit it (change the name and price, choose the currency) or delete it.
- Pop-ups – check the list of all popups and manage them. You can choose which pop-ups will be displayed and the sorting method. Hover over a pop-up on a list, to edit it, enter its Dashboard, set the Display Rules, or navigate to some more settings to manage the leads acquired by the pop-up, duplicate the pop-up, rename it, install the code, publish or delete it. The Settings tab allows you to configure automatic pop-up integration with your Google Analytics account.
- Conversions:
- Leads – manage your leads collected on landing pages and pop-ups. You can export all the leads by clicking on Export. Hover over a lead on a list to copy the email, enter lead details, or delete it. You can read more about lead management here.
- Orders – browse your orders and manage their status. More about the order list here.
- Domains – list of domains, here you can check whether their redirections are correct. You can add a new domain by clicking on Add Domain. Detailed guides on how to configure your domains can be found here.
- Fonts – find a list of added fonts (own or from Google Web Fonts). To add a font, click the Add new Font button and select the font type. You will find the added font in the font list.
- Limits Packages – Agency feature; you can set resource limits for your clients/subaccounts.
- Add-ons – Landingi add-one store where you can power up your plan or order a service, e.g., EventTracker, Landing Page Design, AI Content Generation, etc.
- Integrations – browse our catalog of tools that you can connect with.
Additional tabs for Agency accounts:
- Account choice – switch between your main account and subaccounts.
- Dashboard – an Agency dashboard with a clear view of account usage and statistics.
If you are still having trouble using our platform, schedule a quick individual tour with one of our experts to help you navigate it more easily.